When to Sharpen Chisels and Planes: Clear Signs Your Tools Are Dull
Last Updated: 13 Sep 2025
There Is No Single Answer to Sharpening Frequency
“How often should I sharpen my tools?”
If this is the very first question you asked yourself after picking up your tools, it’s not strange at all. In fact, it’s completely natural.
But the word frequency can be a little tricky here.
For example, if I said, “Sharpen once a day,” you’d probably respond, “But people use their tools for different lengths of time, and the wood species vary, don’t they?” And you’d be right.
A carpenter working with wood every day on site, and you working just a few hours on weekends, will wear down their tools in completely different ways. Trying to explain sharpening in terms of the same frequency ends up with the conclusion: “It depends on the person.” And that doesn’t help anyone.
That’s why I want to talk about signs instead of frequency.
In other words, what exactly does it mean when we say, “The blade is no longer sharp”? My goal here is to help you recognise the practical signs that let you judge, “Ah, now it’s time to sharpen.”
Below, I’ll divide the discussion into the two most commonly used tools in woodworking—chisels and planes—and explain the “signs of dullness” for each.
Signs That Your Chisel Needs Sharpening
Chisels are indispensable tools for cutting mortises, carving grooves, and finishing details. Whether struck chisels or paring chisels, the sharpness of the edge directly determines accuracy. When you are using a chisel, watch for these signs that it’s time to sharpen.
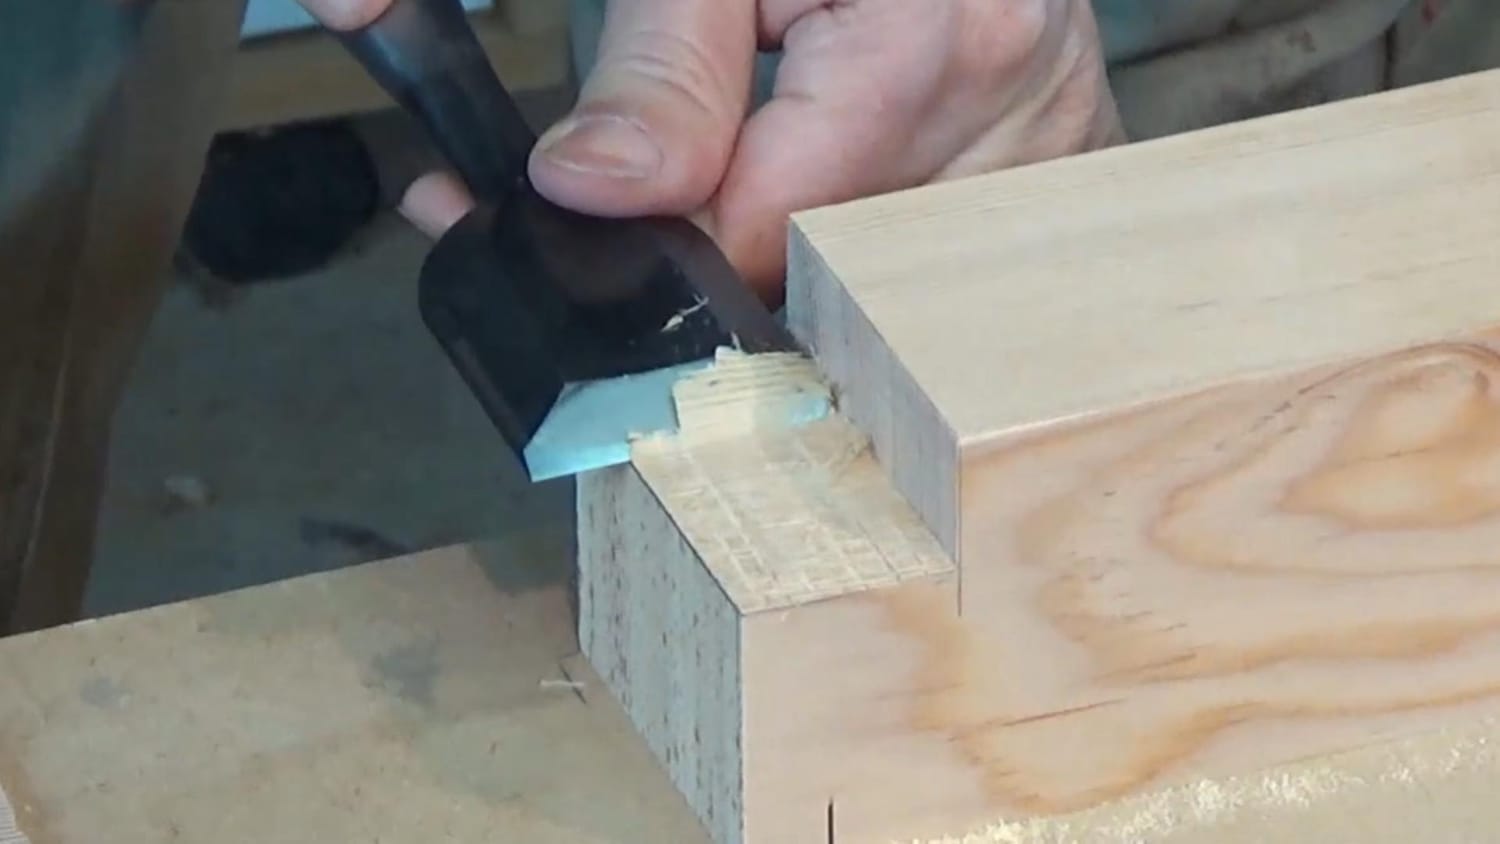
1. The Chisel No Longer Bites into the Wood
A sharp chisel, struck lightly with a mallet, sinks into the wood with a “Zut” sound, advancing smoothly with reliable feedback. It feels as if the wood is accepting the blade.
But as the edge dulls, the blade stops at the “entry point.” The same force no longer makes the chisel bite, and instead it slides across the surface. You end up needing extra force to make progress. With hardwoods, the difference is especially clear—the blade no longer goes in naturally.
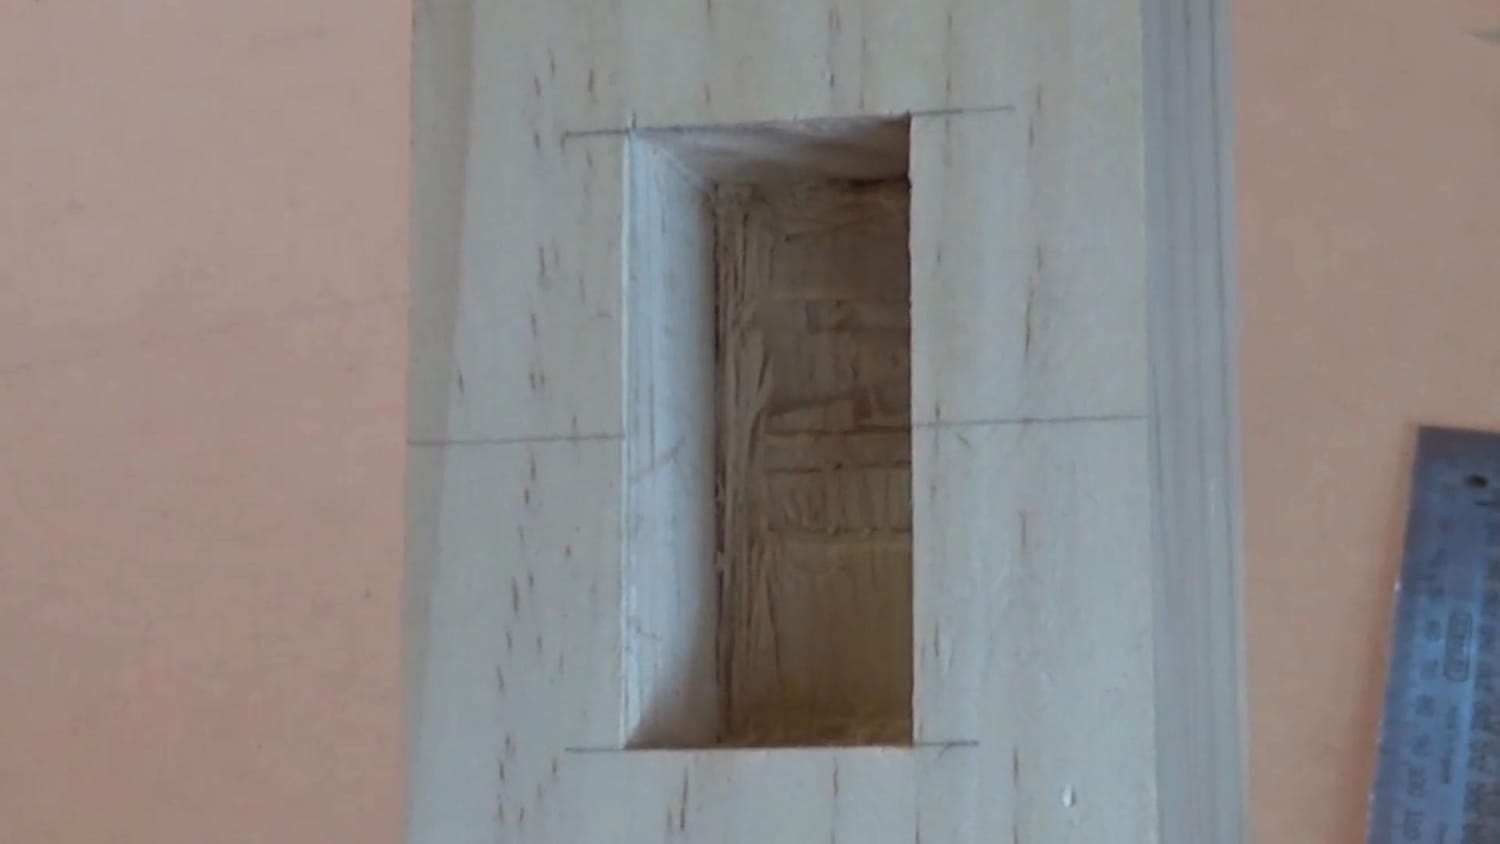
2. Fibres Are Compressed Instead of Cut
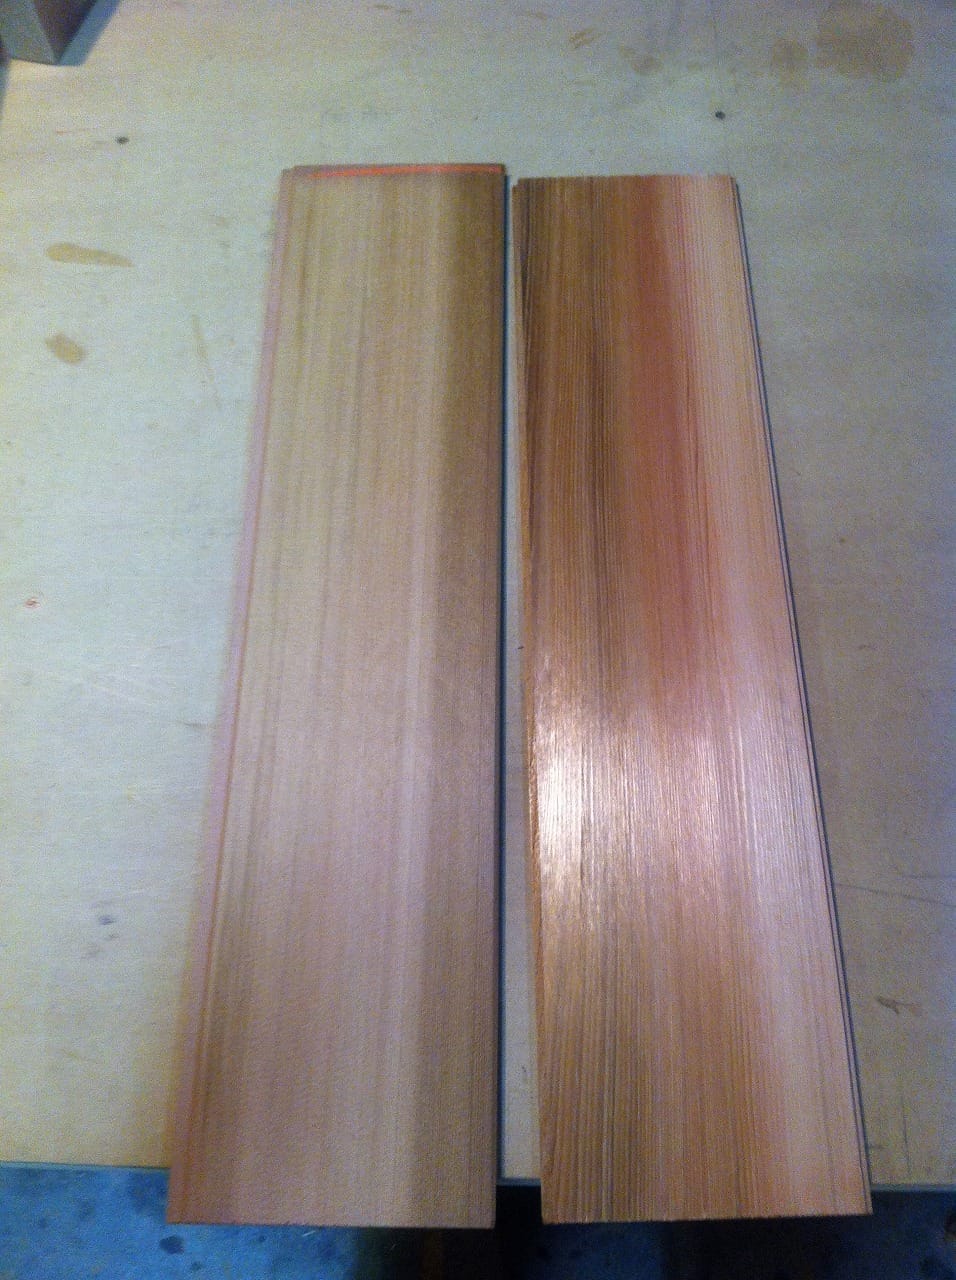
A keen edge cuts fibres cleanly, leaving a shiny, smooth surface.
When the edge grows dull, instead of cutting, it presses and crushes the fibres. The result is a whitish surface with crushed and fuzzy traces. This difference is especially visible in softwoods.
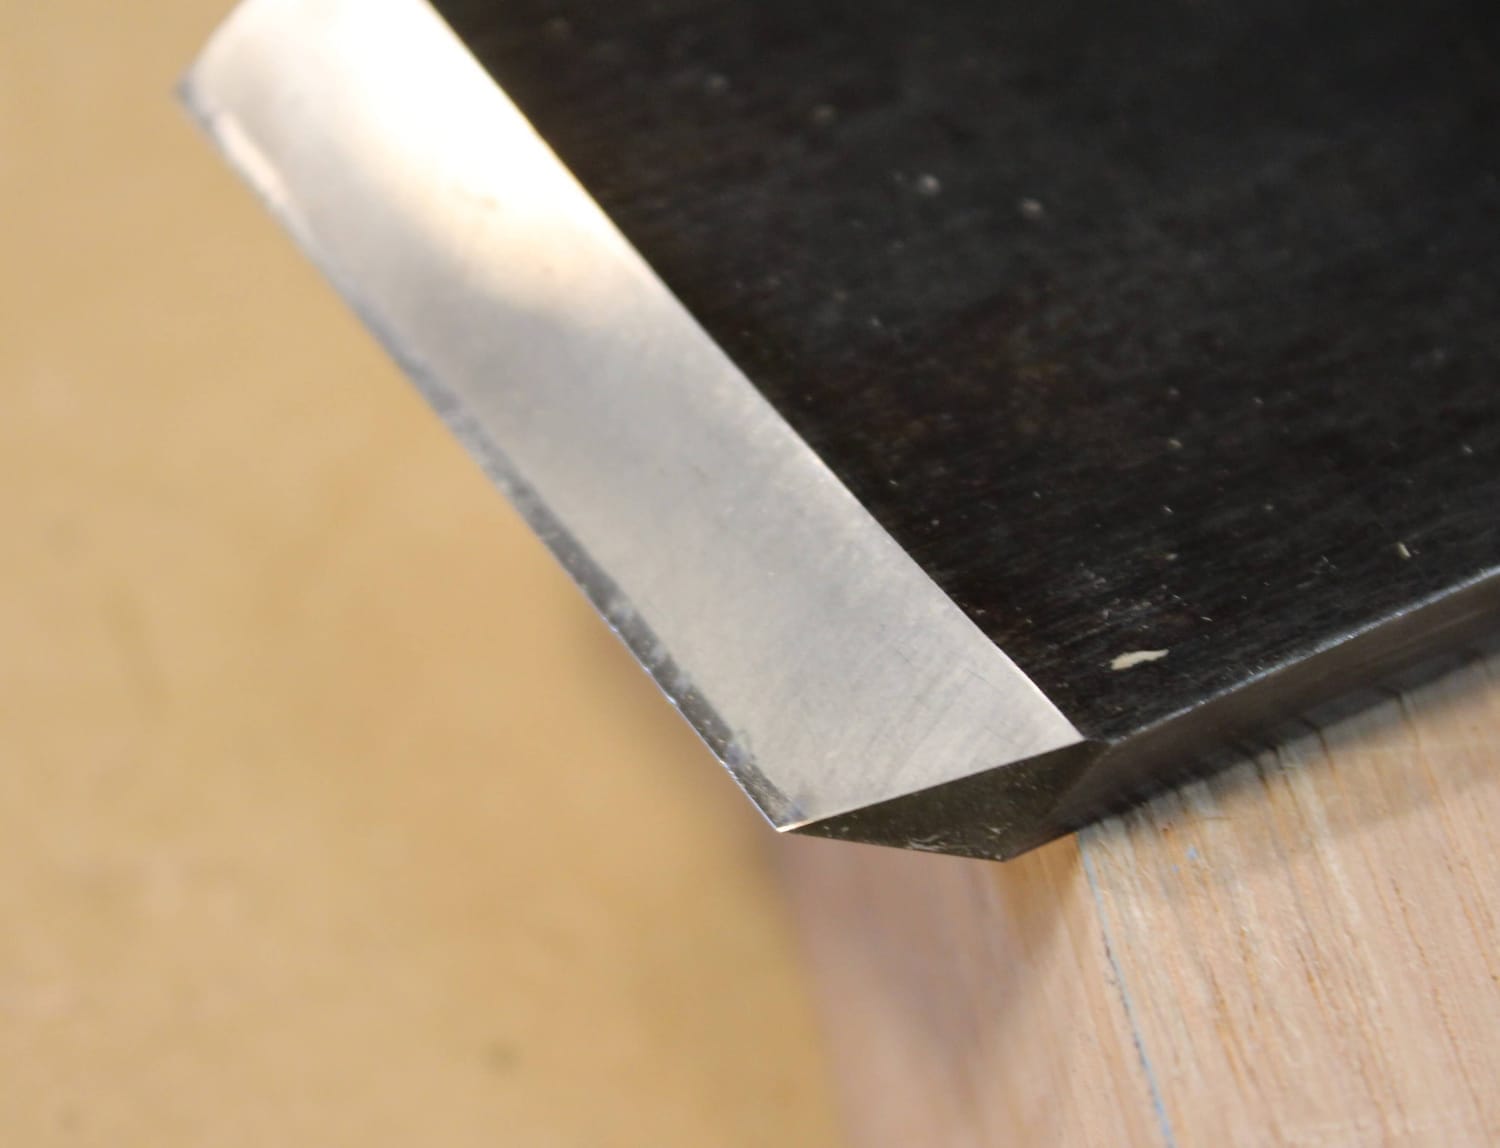
3. Small Chips on the Edge
Striking hardwood can cause small chips in the edge. Even if they are invisible to the naked eye, you can feel roughness with your fingertip, and fine lines will appear on the finished surface. If you keep working like this, the chipped sections create resistance, fibres catch, and force escapes unpredictably.
Such chipping directly affects your work: lines in the finish, or a chisel that no longer enters smoothly. When you notice these changes, it’s a sign you need to resharpen.
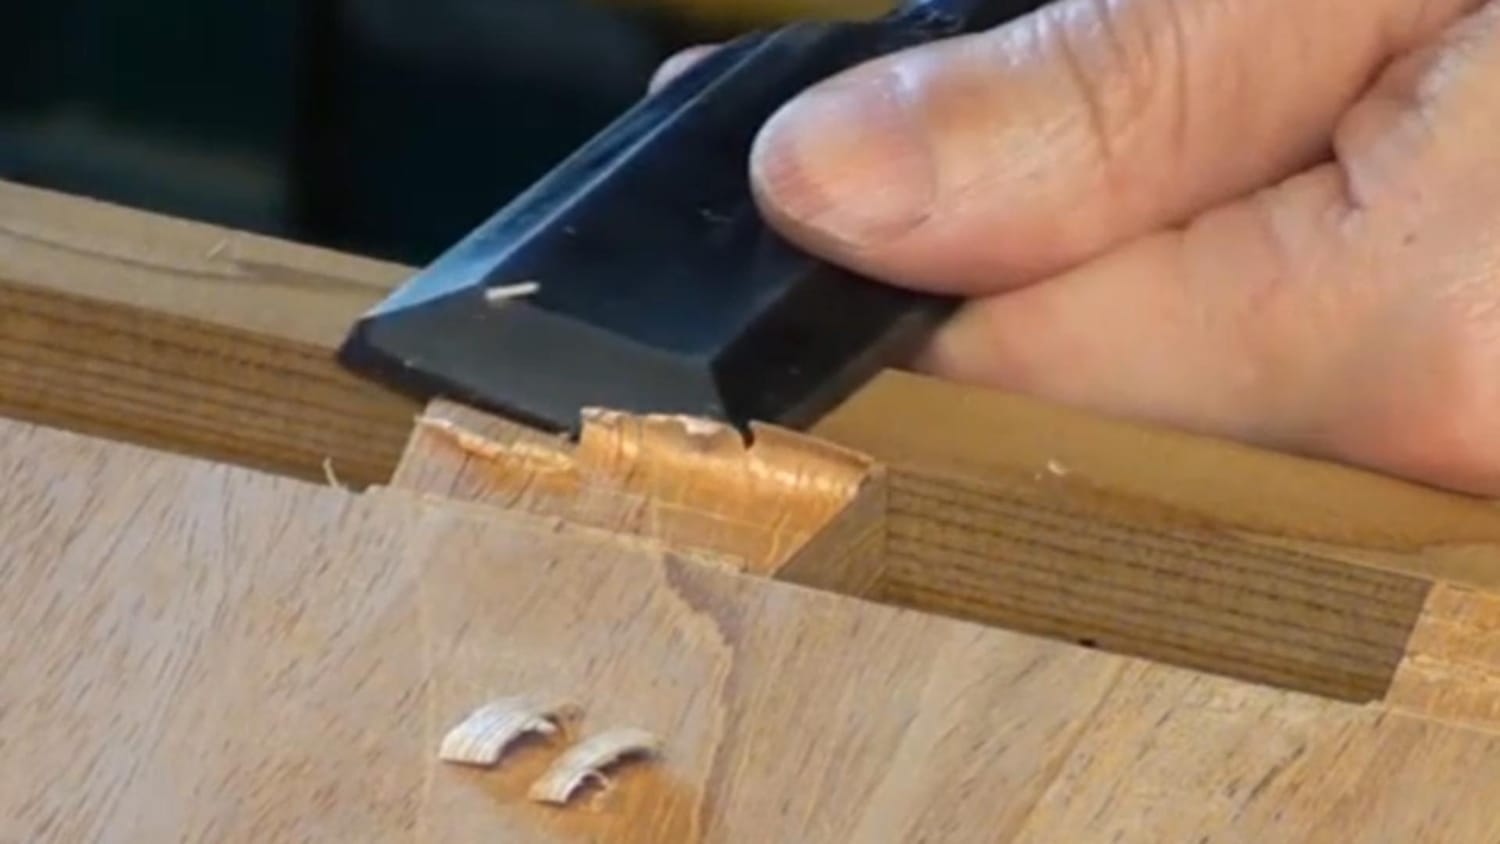
4. The Sound of Cutting Changes
This is most noticeable when paring end grain by hand. While sharp, the chisel makes a steady “Zut, Zut” sound, cutting fibres with pleasant resistance. Sound and feel are in sync, moving in a consistent rhythm.
As sharpness fades, the sound changes. In earlywood, “Zut” becomes a duller “Guh,” showing that fibres are being crushed. In latewood, the sound breaks into a “Gak” as the blade stops abruptly.
When the rhythm breaks or the sound turns heavy and muffled, that is a clear sign that sharpening is due.
Chisel summary:
With chisels, when the blade no longer enters cleanly, surfaces look cloudy, or the rhythm of sound is lost, these subtle changes all signal dullness. Don’t ignore them—resharpening at this stage leads to far more accurate woodworking.
Signs That Your Plane Needs Sharpening
A plane refines the surface of wood. A finishing plane, in particular, must be sharp enough to produce consistent, whisper-thin shavings. When you are using a plane, pay attention to the following signs.
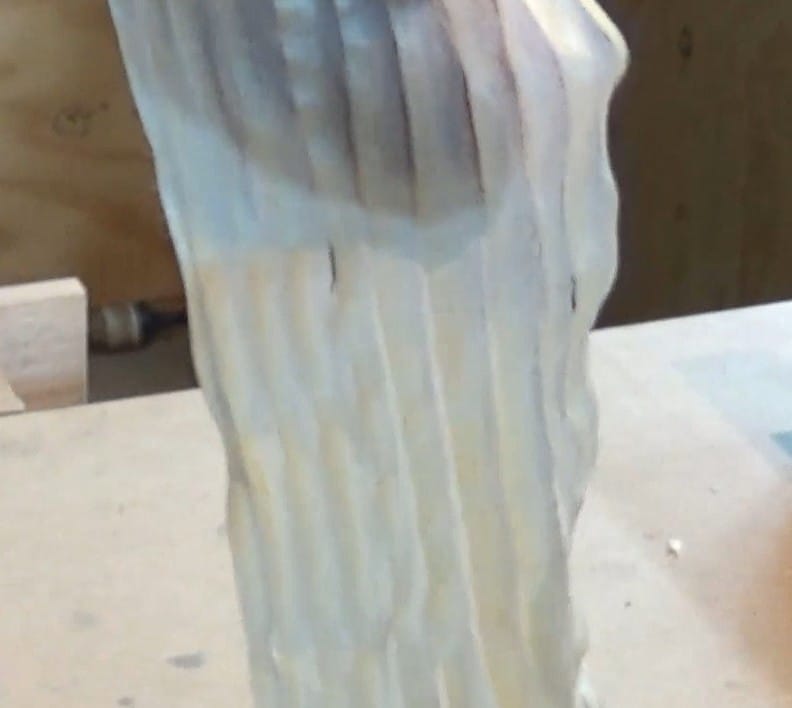
1. The Surface Becomes Fuzzy
A sharp plane leaves a silky, lustrous surface. Touching it feels almost adhesive-smooth.
As the edge dulls, fibres tear rather than slice. The surface turns whitish and fuzzy, and the tactile smoothness disappears. Both the visual clarity and the tactile refinement vanish at the same time.
2. The Blade Must Be Set Deeper to Cut
When sharp, a plane produces thin shavings with the blade set just barely proud of the sole.
As the edge dulls, this setting no longer engages the wood, and you must extend the blade further. At that point, only thick shavings come out, and the smoothness of the finish declines.
If you find yourself thinking, “This setting used to cut fine, but now I have to push the blade out more,” that’s a sign it’s time to sharpen.
In other words, when your shavings change from transparent and floating to heavy, ribbon-like strips, the blade is asking to be resharpened.
3. The Sound of Planing Changes
When sharp, a plane makes a crisp “Shhh” sound—clear, light, and steady in pitch.
As the edge dulls, faint distortion creeps into the sound. When planing long boards, the once-consistent pitch begins to waver slightly, with subtle rises and falls that weren’t there before.
At first this may be hard to notice, but with practice you’ll clearly hear the difference. That small change in sound is the blade telling you, “Sharpen me.”
4. Slow Speed No Longer Works
A freshly sharpened plane will produce even shavings at a slow pace, without needing downward pressure—just the weight of your arms is enough.
As the edge dulls, slow strokes stop producing shavings. You need to move faster, and eventually you must also press downward before shavings appear at all.
These two together—needing speed and extra pressure—are unmistakable signs that the blade needs sharpening.
Plane summary:
With planes, changes in the surface gloss, shaving thickness, sound, and stroke effort are all indicators. Staying alert to these signals ensures that your finish retains the hallmark beauty of Japanese woodworking.
Conclusion: Don’t Miss the Subtle Signals from Your Blades
There is no universal answer to the question, “How often should I sharpen?” But if you become sensitive to the signs from your chisels and planes, you’ll naturally find the best sharpening rhythm for your own work.
Sharpening is not about numbers on a schedule—it’s about listening to the subtle changes your tools and the wood reveal. That is the essence of sharpening in Japanese woodworking.
Next time you pick up your chisel or plane, pay attention to the bite, the sheen of the surface, the weight of the shavings, and the clarity of the sound. Those slight differences are the blade’s way of telling you: “It’s time to sharpen me.”
Ready for structured, in-depth training?
Latest Posts
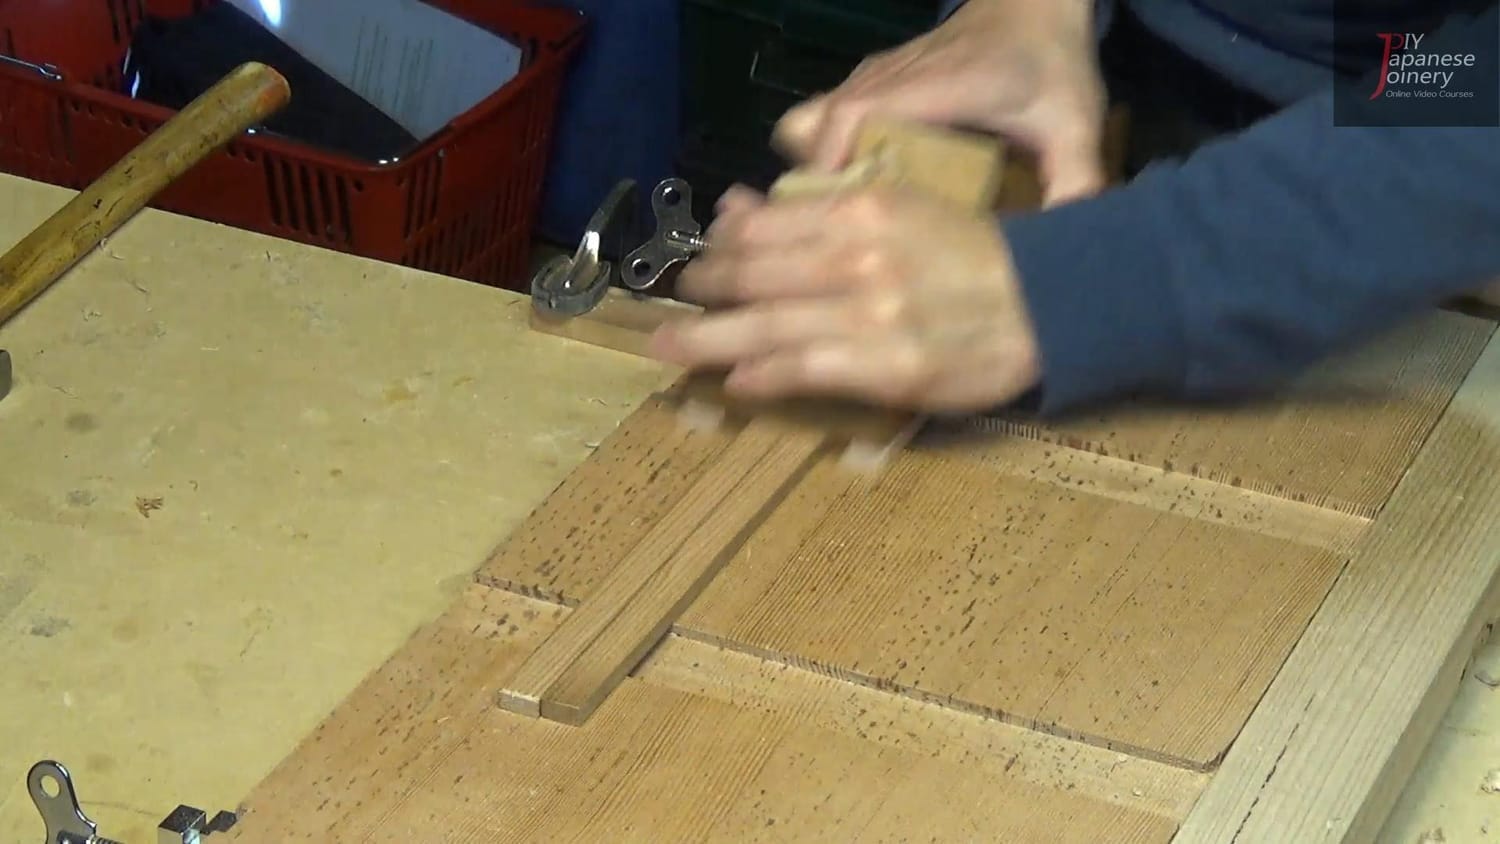
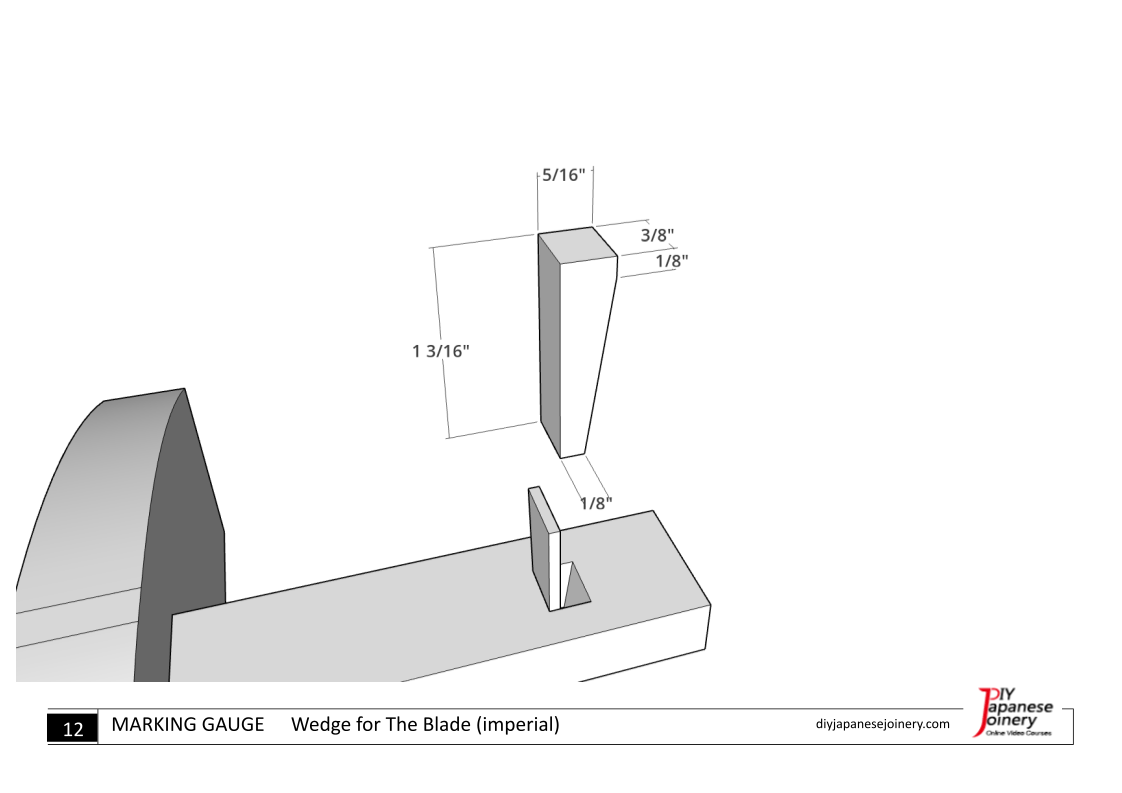
Precision Starts with a Single Line.
Get the detailed diagrams to craft your own Japanese marking gauge (Kehiki). Start your journey with the foundational tool of Japanese joinery.
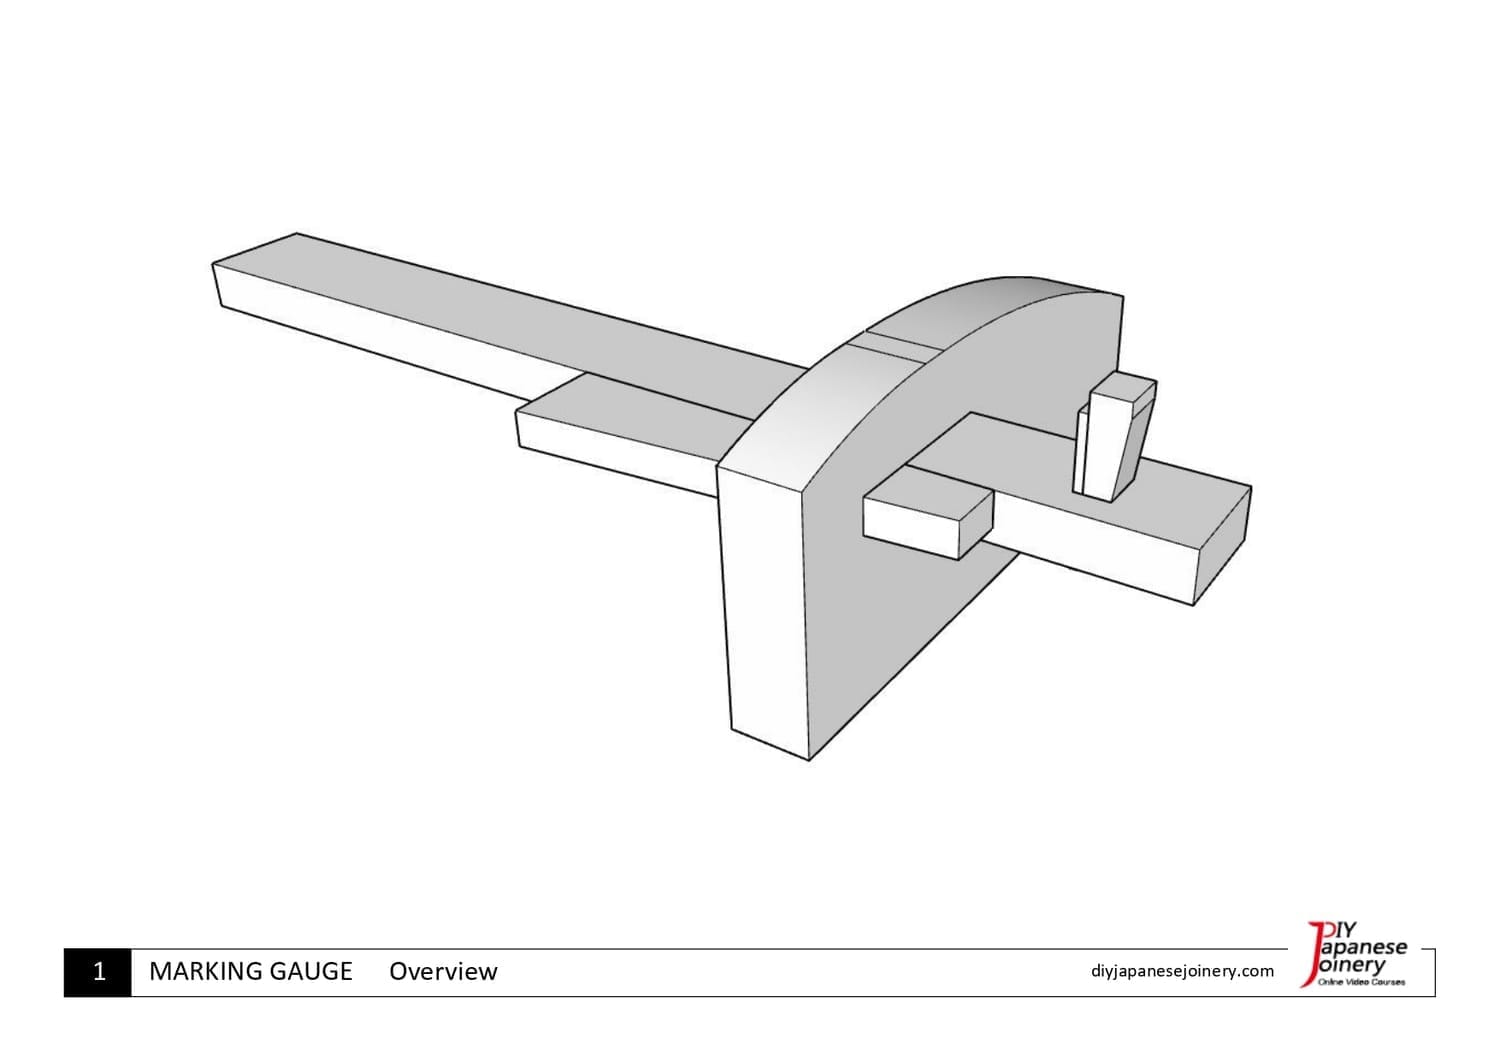
Precision Starts with a Single Line.
Get the detailed diagrams to craft your own Japanese marking gauge (Kehiki). Start your journey with the foundational tool of Japanese joinery.
About me

Hi there, I’m Hisao Zen, a Japanese woodworking artisan with 25+ years’ experience. I share the techniques and traditions of joinery through online courses, guiding beginners step by step while inspiring them to carry this timeless craft into the future.
Latest Posts


©2017–2026 DIY Japanese Joinery
All pricing is in U.S. dollars.
Some images by Freepik