How to Sharpen Japanese Chisels (Nomi) – Choosing the Right Sharpening Stones
Last Updated: 4 Sep 2025
Introduction
No matter how skilled you are, the sharpness of your Japanese chisels (nomi) depends on the stones you use. The sharpening stone is where steel meets abrasive – it shapes the bevel, polishes the back, and ultimately determines how sharp your blade can become.
In Japanese woodworking, choosing the right stones is just as important as mastering the sharpening technique itself. The wrong stone can waste time, wear your blade unnecessarily, or even cause damage. The right stone, on the other hand, works with you – cutting efficiently, staying flat longer, and producing a clean, precise edge.
In this guide, we’ll look at the types of sharpening stones you need for Japanese chisels, how to choose between them, and the advantages and disadvantages of each.
The Three Stages of Sharpening – Coarse, Medium, and Fine
Sharpening stones are generally divided into three categories based on grit size:
1. Coarse Stones (Arato) – For Heavy Repair
Grit Range: Around #400
Purpose:
Remove deep chips or damage from the cutting edge.
Reshape a badly worn bevel.
Flatten the surfaces of other stones.
Best Material: Diamond stones.
Advantages: Extremely fast cutting, reliable flatness.
Disadvantages: Can remove steel too quickly if used carelessly.
Example: If your chisel drops to the floor and gets a deep nick in the edge, starting with a #400 coarse diamond stone is the fastest way to repair it.
Pro Tip: Beginners often overuse coarse stones. Focus only on the damaged area and keep your strokes straight, or you risk creating a diagonal cutting edge.
2. Medium Stones (Nakato) – The Workhorse of Sharpening
Grit Range: #800 to #1500
Purpose:
General sharpening for a dull blade.
Refining the shape and angle of the bevel.
Starting point for routine maintenance.
Best Material:
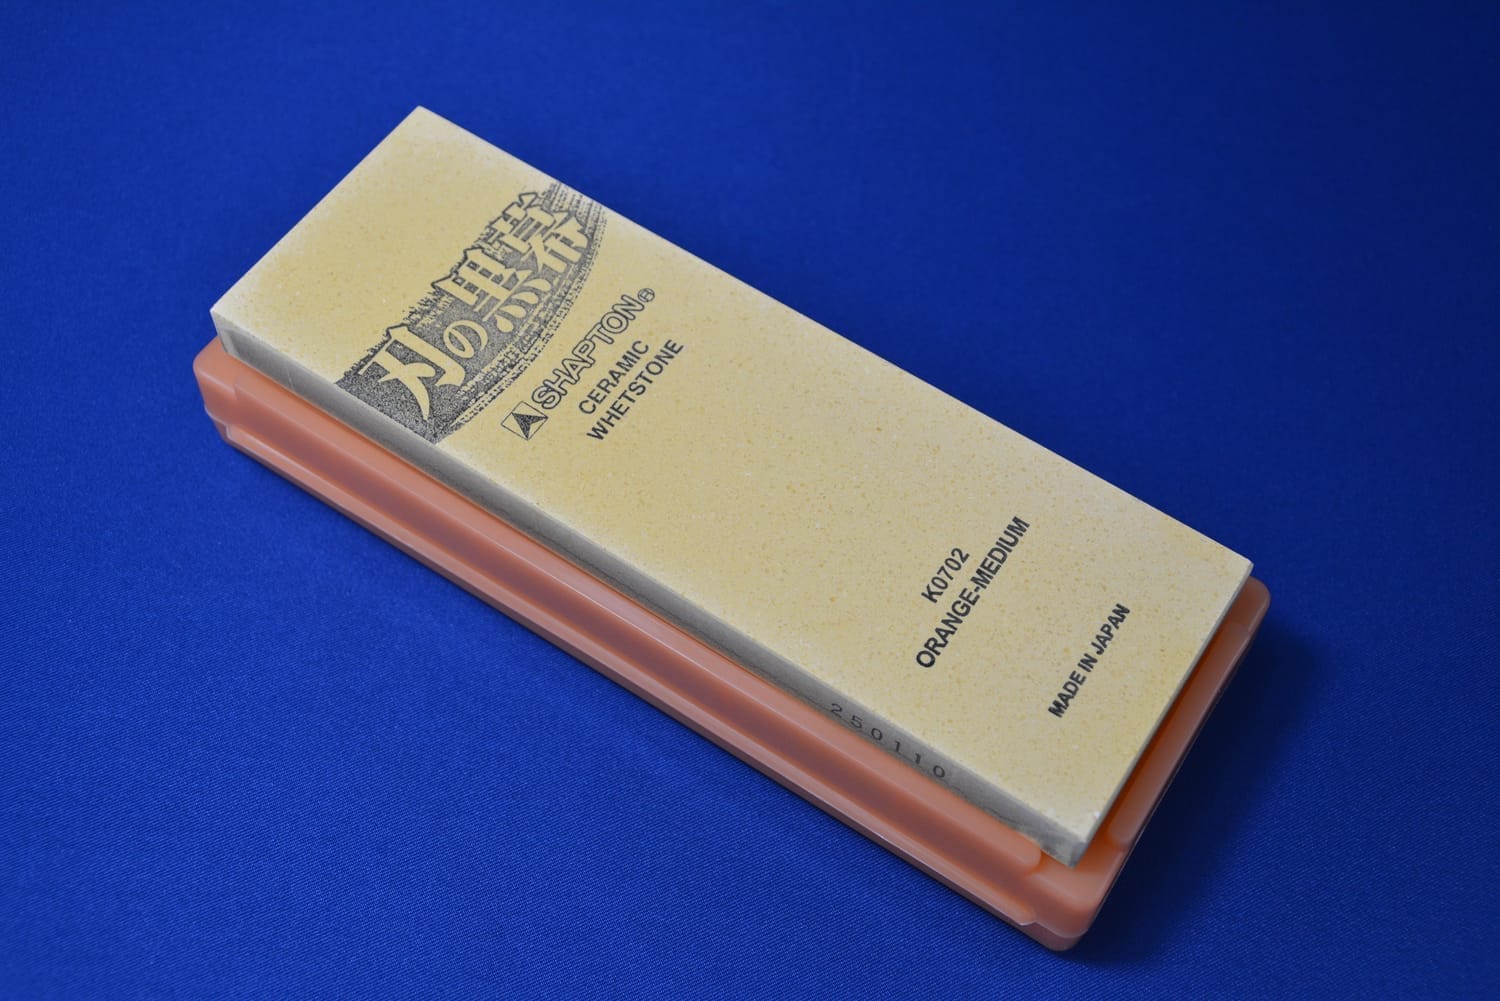
Ceramic stones for chisels – e.g., Shapton #1000, a hard ceramic waterstone that cuts fast and stays flat longer, making it ideal for chisel bevels.
Traditional synthetic stones for plane blades –e.g., King Deluxe #1000 or #1200, an aluminium-oxide waterstone with a clay binder that gives a gentler feel.
Advantages: Versatile, essential for regular use.
Disadvantages: Will hollow over time – requires flattening.
In my own setup, I use:
A standard synthetic #1200 (King Deluxe) stone for plane blades.
A harder ceramic #1500 for chisels.
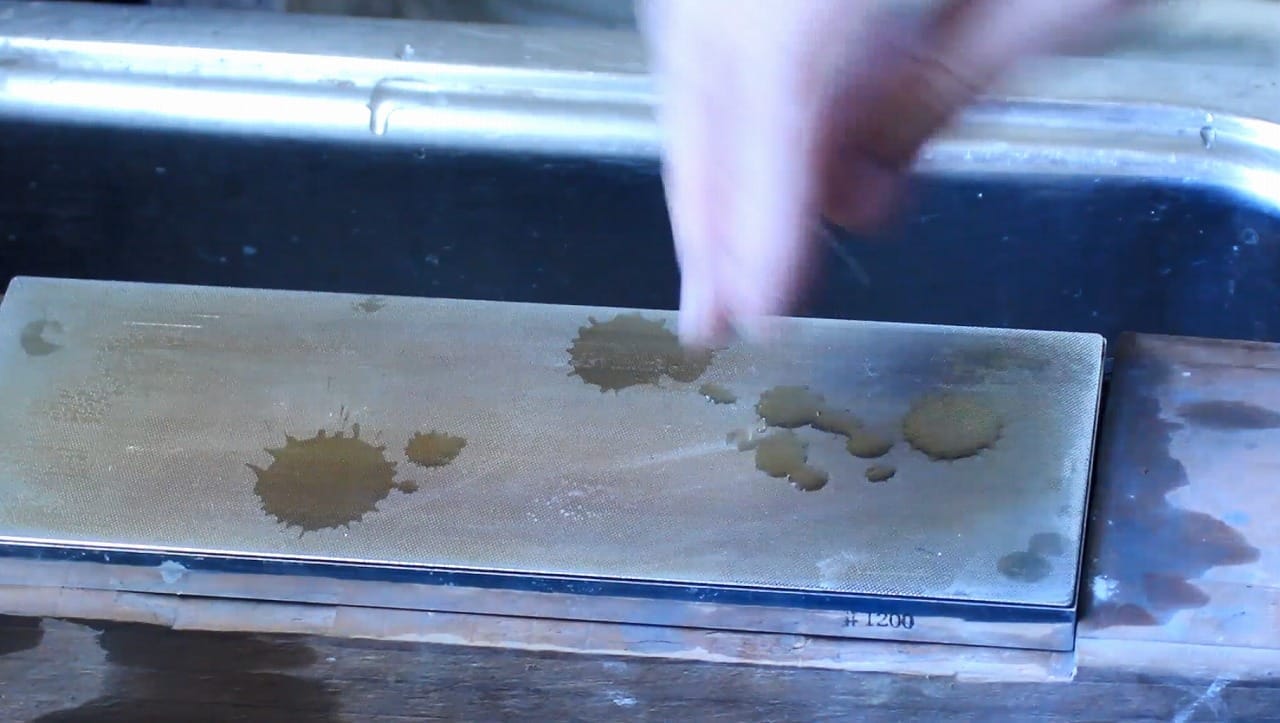
A #1200 diamond stone for flattening backs and resurfacing other stones.
Pro Tip: Medium stones are the most important stage of sharpening. This is where the blade’s angle and appearance are formed. If you rush here, no finishing stone can save the result.
3. Fine Stones (Shiageto) – For the Final Polish
Grit Range: #6000 and above.
Purpose:
Remove burrs from the cutting edge.
Polish the back to a mirror finish.
Refine the bevel for ultimate sharpness.
Best Material:
High-quality artificial finishing stones.
Natural finishing stones for a traditional feel.
Advantages: Produce razor-sharp edges, refine aesthetics.
Disadvantages: Can be expensive, require skill to maintain.
Personal Note: I’ve tried many synthetic finishing stones, but I still prefer natural stones for my final polish. The edge they produce has a certain feel – not just sharp, but harmonious with the wood. The price can be high, but the results speak for themselves.
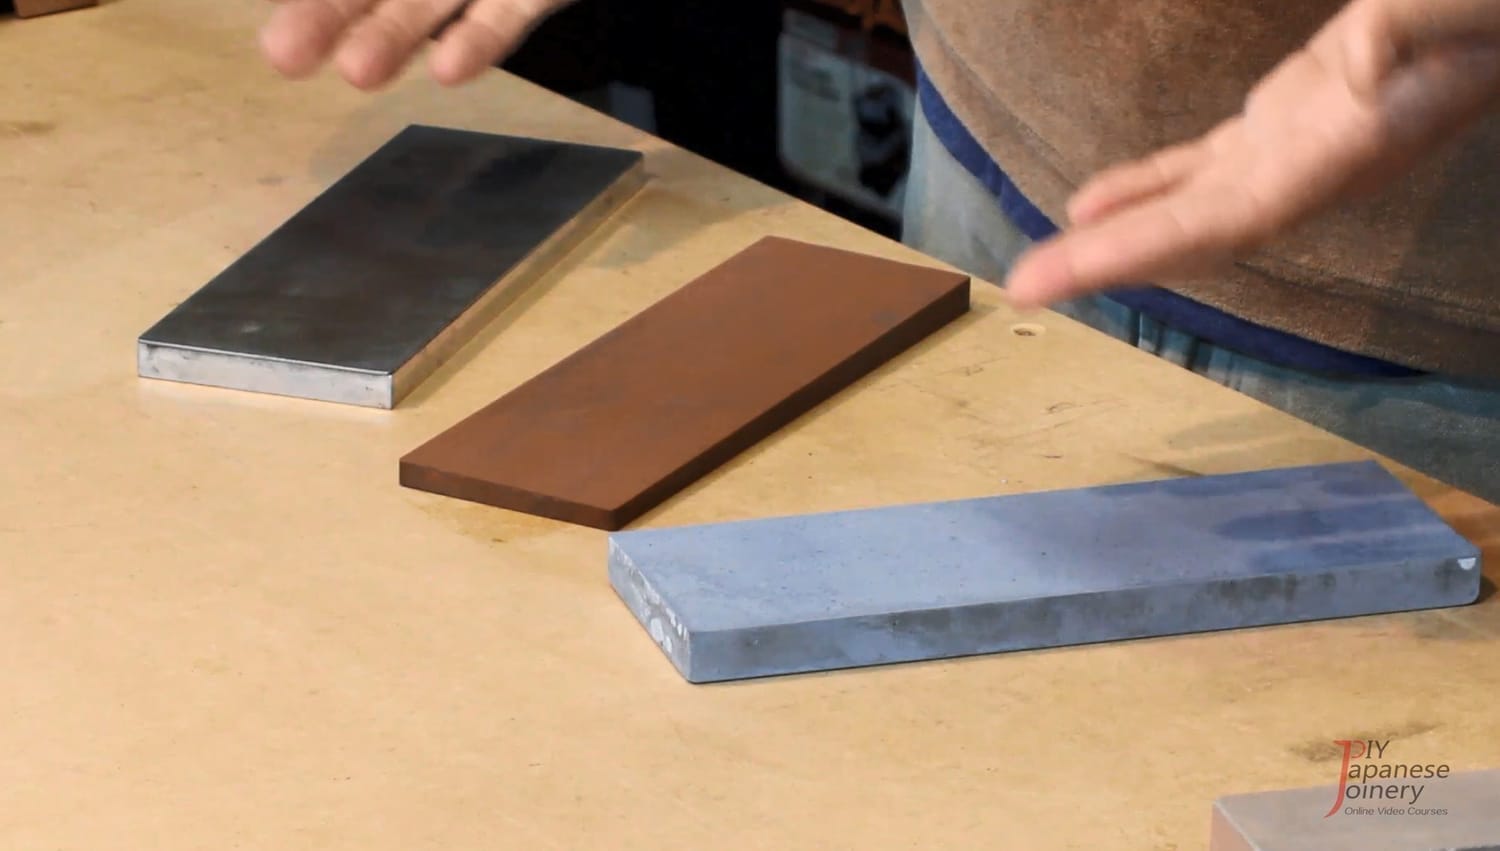
Stone Composition – Diamond, Ceramic, and Natural
Aside from grit, stones are also classified by what they’re made from.
1. Diamond Stones
Cutting Speed: Very fast.
Flatness: Stay flat for years.
Best For:
Flattening other stones.
Removing chips.
Flattening the back of the blade.
Example: Atoma #400 for repairs and stone flattening.
Drawback: Can leave deep scratches if grit is too coarse.
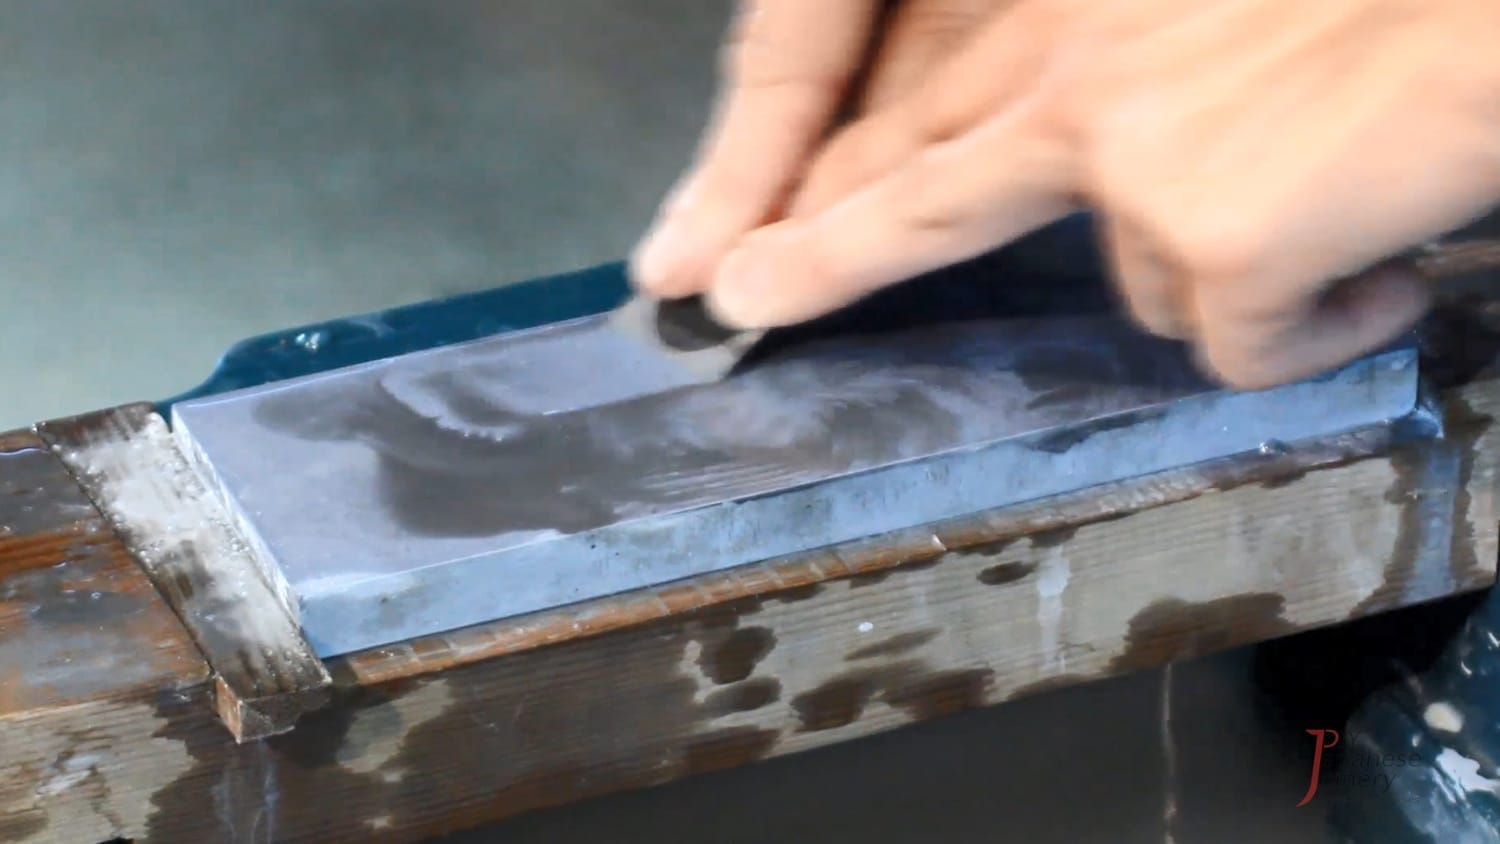
2. Ceramic Stones
Cutting Speed: Faster than traditional synthetics.
Flatness: Better retention than soft synthetics.
Best For:
Chisels (especially for bevel sharpening).
Example: Shapton #1000 hard ceramic waterstone.
Drawback: Too hard for some plane blades – may cause chatter.
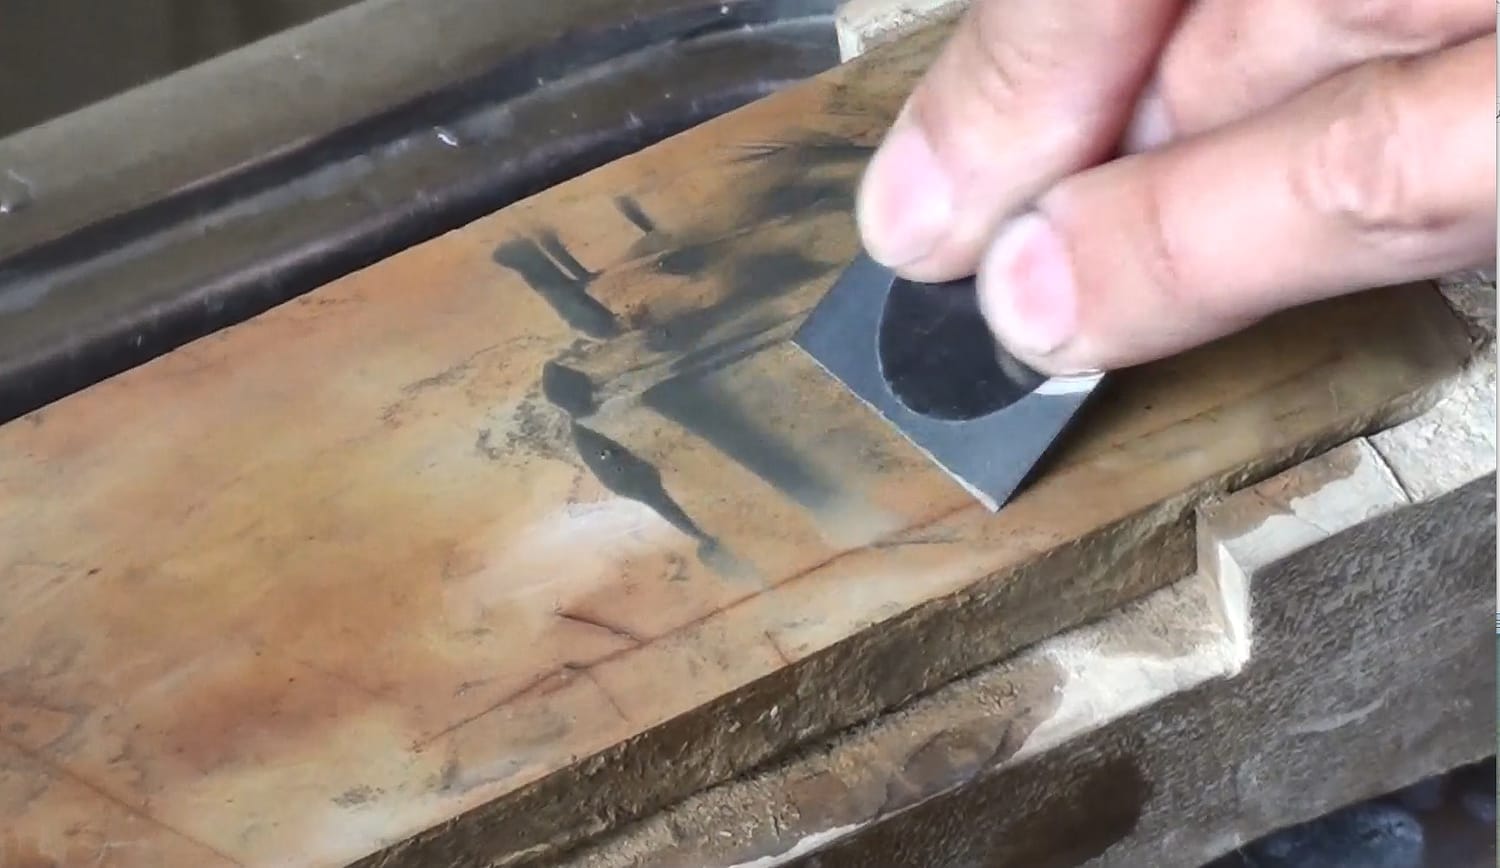
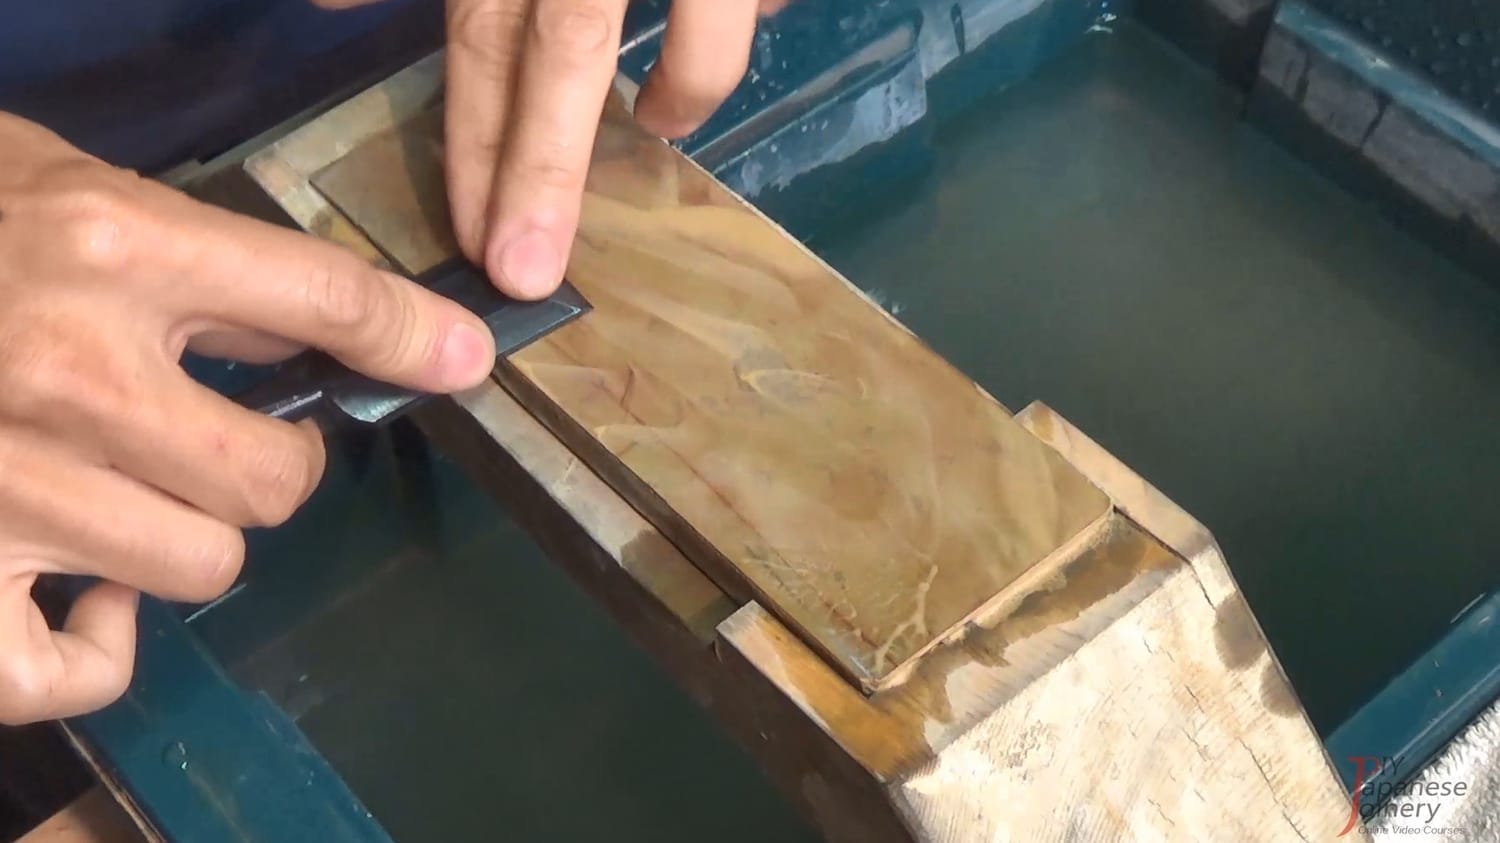
3. Natural Stones
Cutting Speed: Slower, but highly refined finish.
Flatness: Varies – can be uneven.
Best For:
Final polishing.
Drawback: Expensive, quality varies – must test before buying.
Choosing Stones for Your Sharpening Setup
For most woodworkers sharpening nomi, a three-stone setup works best:
Coarse (#400 diamond) – for repair and stone flattening.
Medium (#1200 ceramic) – for shaping and regular sharpening.
Fine (#6000+ finishing stone) – for burr removal and polishing.
If budget allows, add a #1200 diamond stone dedicated to flattening backs and resurfacing stones.
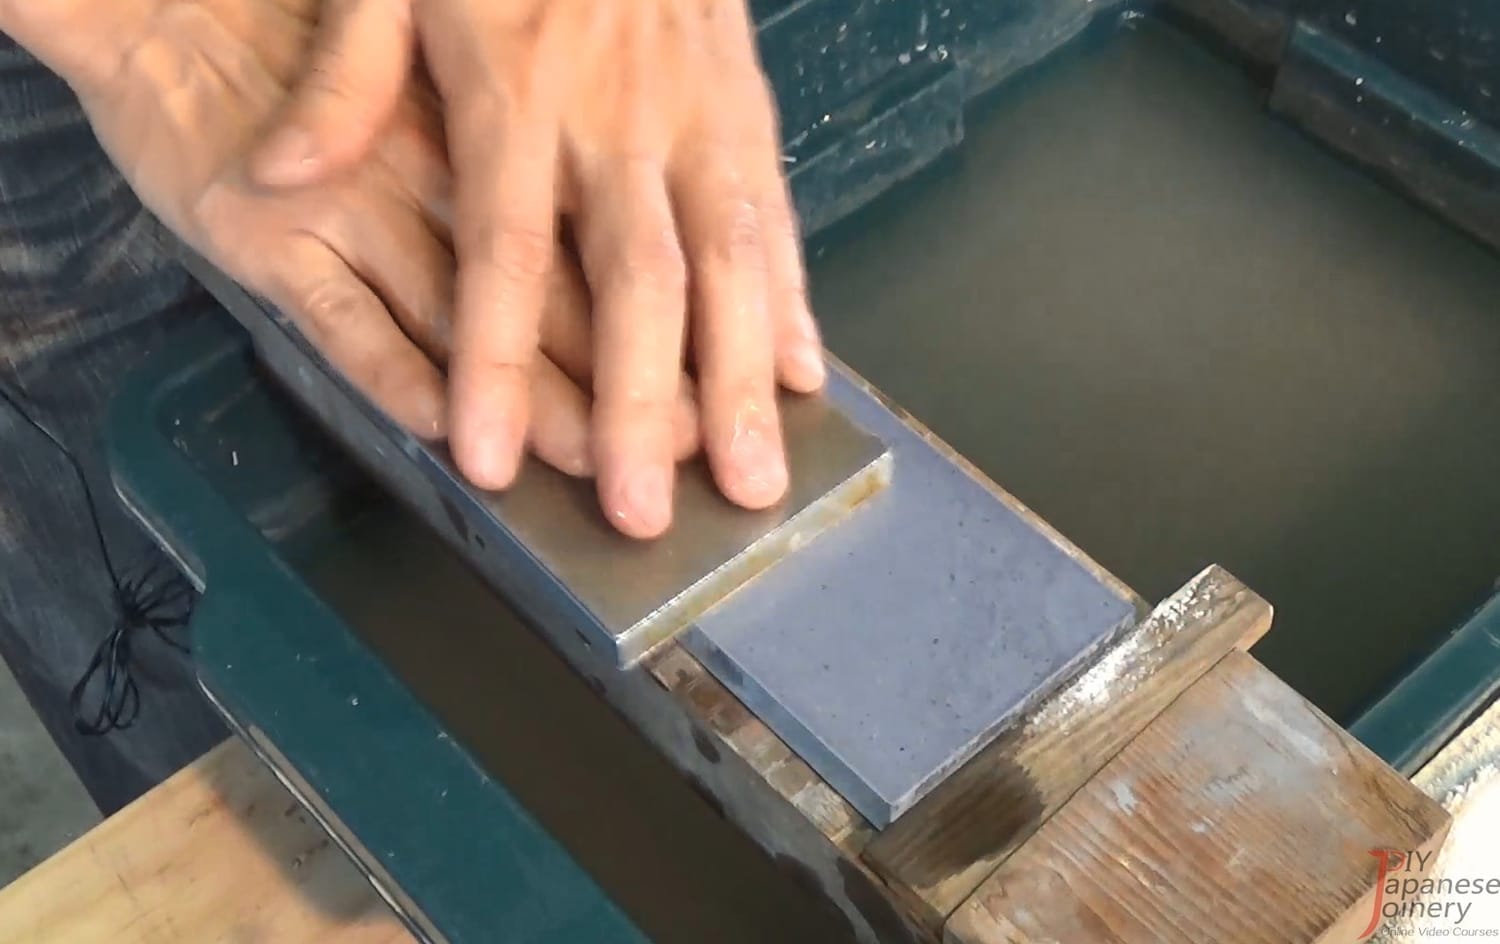
Maintaining Your Stones
No matter the grit or material, your stones will wear over time.
Flatten regularly: Use a diamond plate to keep surfaces flat.
Soak (for water stones): Most synthetic stones benefit from a short soak before use. Avoid soaking natural stones unless the maker recommends it.
Store properly: Keep them clean and dry between uses to prevent mould or cracking.

Common Mistakes When Choosing or Using Stones
Starting with the wrong grit – Using a fine stone to remove chips wastes time.
Neglecting stone flatness – A hollow stone will round your edge.
Using one stone for all tasks – Each stage of sharpening requires a different grit.
Not matching the stone to the blade type – Hard ceramic on a plane blade can be counterproductive.
Next in the Series
In Part 3, How to Sharpen Japanese Chisels (Nomi) – How to Set Up Your Sharpening Space, we’ll look at how to set up your sharpening station – whether at home or on-site. You’ll see how to secure stones, manage water, and create an efficient, clean workflow so sharpening becomes easier and more consistent.
Ready for structured, in-depth training?
Latest Posts
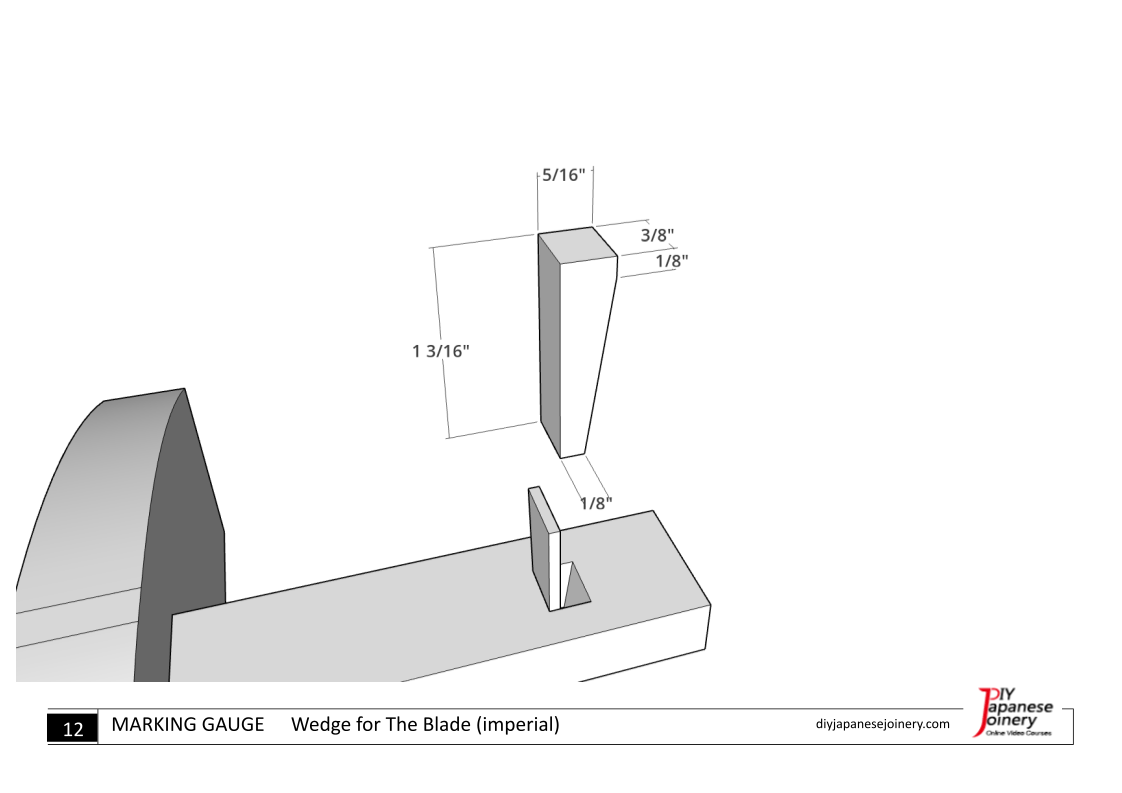
Precision Starts with a Single Line.
Get the detailed diagrams to craft your own Japanese marking gauge (Kehiki). Start your journey with the foundational tool of Japanese joinery.
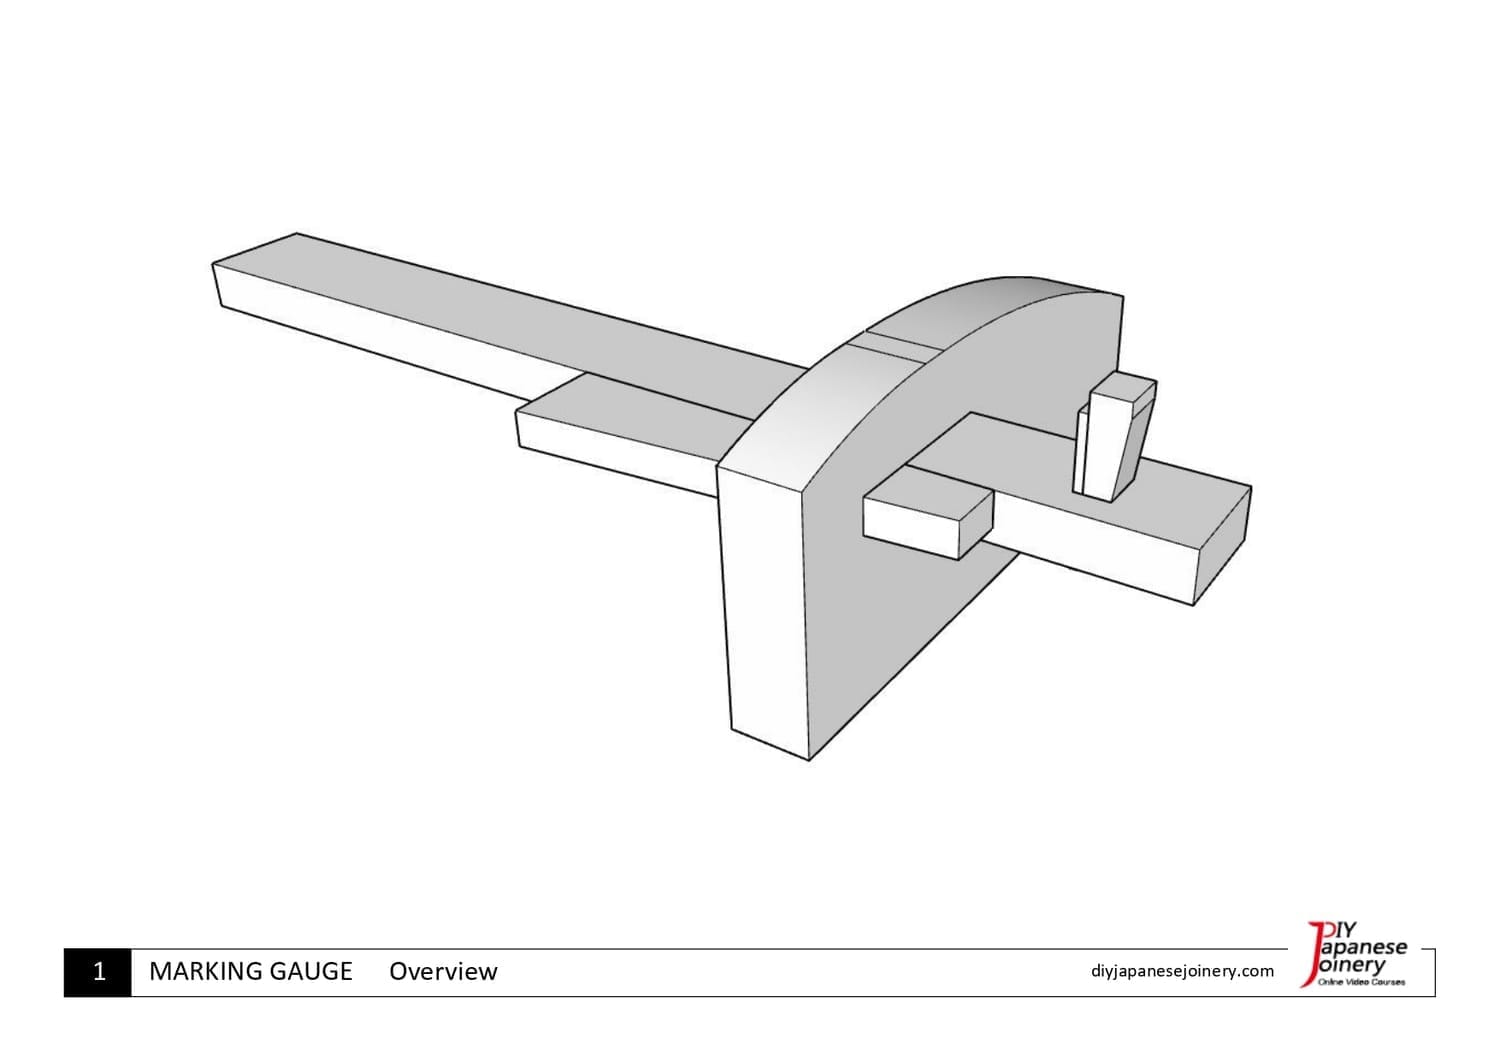
Precision Starts with a Single Line.
Get the detailed diagrams to craft your own Japanese marking gauge (Kehiki). Start your journey with the foundational tool of Japanese joinery.
About me

Hi there, I’m Hisao Zen, a Japanese woodworking artisan with 25+ years’ experience. I share the techniques and traditions of joinery through online courses, guiding beginners step by step while inspiring them to carry this timeless craft into the future.
Latest Posts


©2017–2026 DIY Japanese Joinery
All pricing is in U.S. dollars.
Some images by Freepik