How to Sharpen Japanese Chisels (Nomi) – Introduction to a Lifelong Skill
Last Updated: 4 Sep 2025
Introduction
Sharpening Japanese chisels – known as nomi – is one of the most essential skills in Japanese woodworking. It is also one of the most misunderstood. Many people think sharpening is just a matter of rubbing a blade against a stone until it looks shiny. But true sharpening is a craft of its own, with depth, precision, and a rhythm you only understand after years of practice.
In my own work as a craftsman, sharpening has never been a “one-and-done” task. It’s a journey – one I have been on for decades. Every time I sharpen a chisel, I am not only restoring its cutting edge; I am also refining my skill, training my hands and eyes to work in unison, and learning more about the nature of both the steel and the wood it will cut.
When a nomi is sharpened correctly, it stops feeling like a tool and starts feeling like an extension of your hands. With a sharp chisel, you do not fight the material – you move through it effortlessly, with precision and control. That is the joy of Japanese woodworking, and that is what this series aims to share with you.
Why Sharpening is More Than Maintenance
In many Western woodworking traditions, chisels are often maintained in a more practical and time-efficient way — for example, touched up on a grinding wheel or replaced when heavily worn. This reflects a different approach to tool care and workflow.
In Japanese woodworking, by contrast, sharpening is considered an inseparable part of the craft. The edge is not just a cutting surface; it’s the final point where your skill meets the wood.
A properly sharpened nomi brings three major benefits:
Clean, accurate cuts – reducing the need for sanding or correction
Better control – the chisel follows your intended line, not the path of least resistance.
Longer tool life – correct sharpening removes only the necessary amount of steel, preserving the blade for years.
Inaccurate or careless sharpening does the opposite: it shortens tool life, weakens the edge, and increases the effort required for every cut. In Japanese joinery, where precision is measured in fractions of a millimetre, this is unacceptable.
A Lifelong Journey in Skill
I often compare sharpening to calligraphy. At first, your strokes are awkward and uneven, and you have to consciously think about every movement. Over time, muscle memory takes over, and your hand begins to move with confidence and accuracy.
Sharpening is the same. You may start by worrying about your grip, the angle, the pressure, or whether the stone is flat enough. But eventually, your hands will simply know. And just like calligraphy, no two craftsmen will produce exactly the same line. Each person’s sharpening has a slightly different “signature” in the way the edge is formed.
This is why I call sharpening a lifelong skill – because even after decades, there is always something to improve.
The Japanese Chisel (Nomi) – A Tool Worth Sharpening Well
Before diving into techniques, it’s worth understanding why Japanese chisels deserve this level of care.
A nomi is made from two layers of steel:
Hard high-carbon steel at the cutting edge – for sharpness and wear resistance.
Softer wrought iron or mild steel at the back – for toughness and easier sharpening.
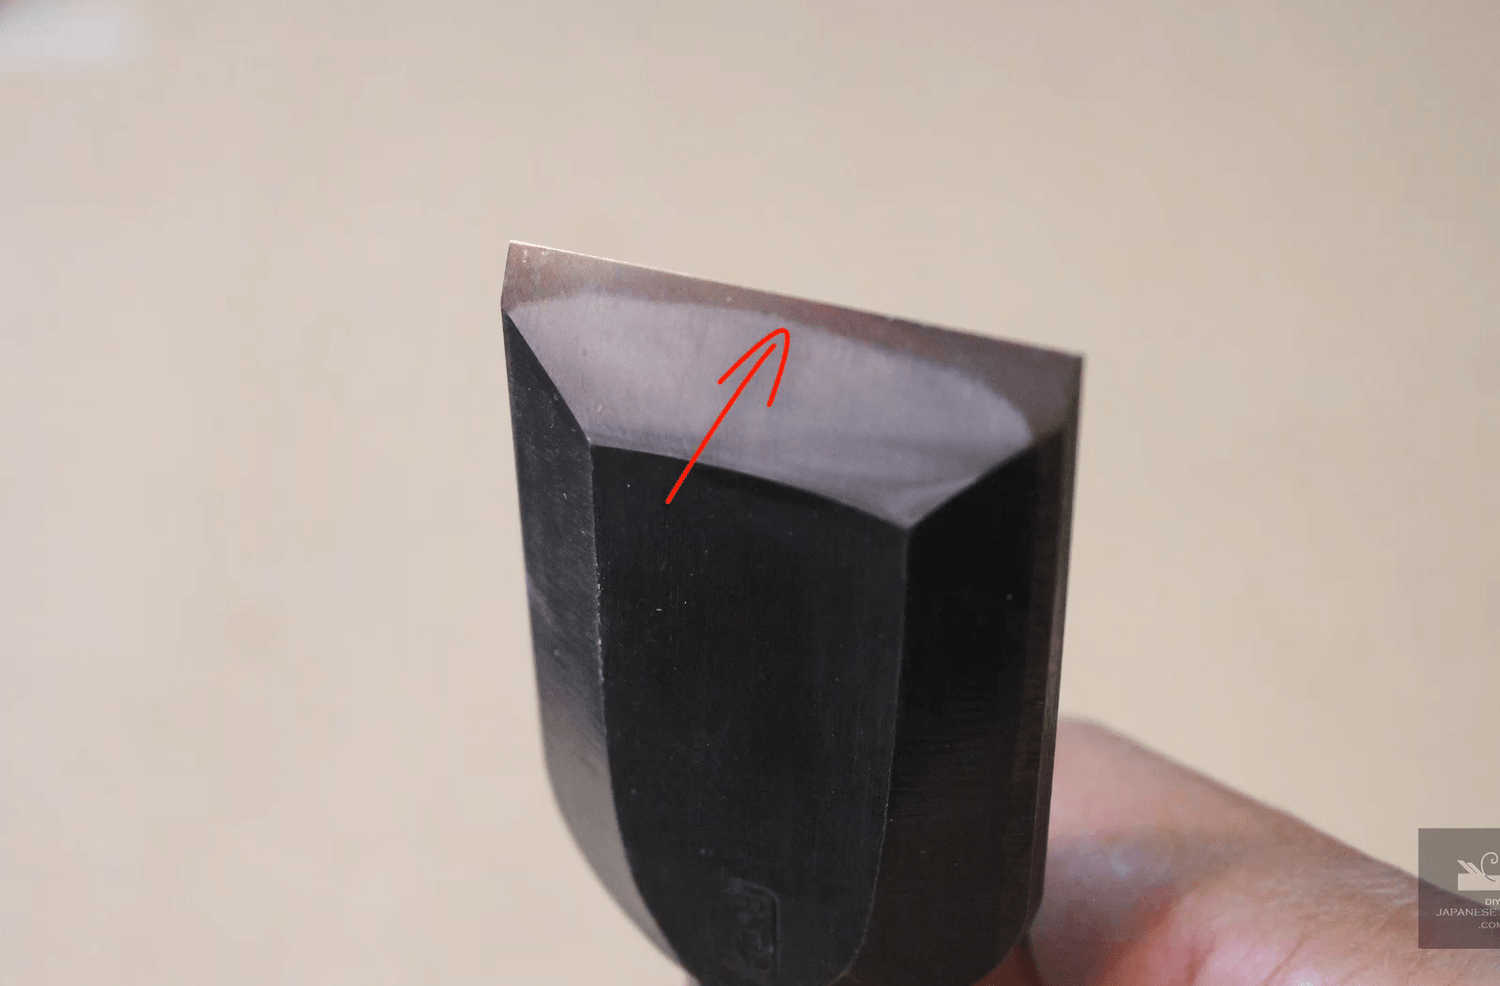
This lamination allows the blade to hold a razor-sharp edge for a long time without being brittle. But it also means sharpening must be done with respect for this structure. Grind away too much, and you waste valuable hard steel. Flatten the wrong area of the back, and you shorten the tool’s life.
Unlike mass-produced chisels, a nomi is often handmade, each one slightly different. The edge geometry, steel quality, and back hollow are all carefully crafted by the blacksmith. Proper sharpening honours that work.
Sharpening as Part of Japanese Woodworking Culture
In traditional Japanese carpentry, sharpening is woven into the daily rhythm of work. Historically, craftsmen would sharpen their tools every morning before starting, and again during the day whenever they felt performance drop. There is an old saying:
“A day without sharpening is a day without work.”
This reflects a cultural view: a sharp tool is not just efficient, it is a sign of respect – for the craft, for the material, and for the customer who will receive the finished work.
The Pleasure of a Properly Sharpened Tool
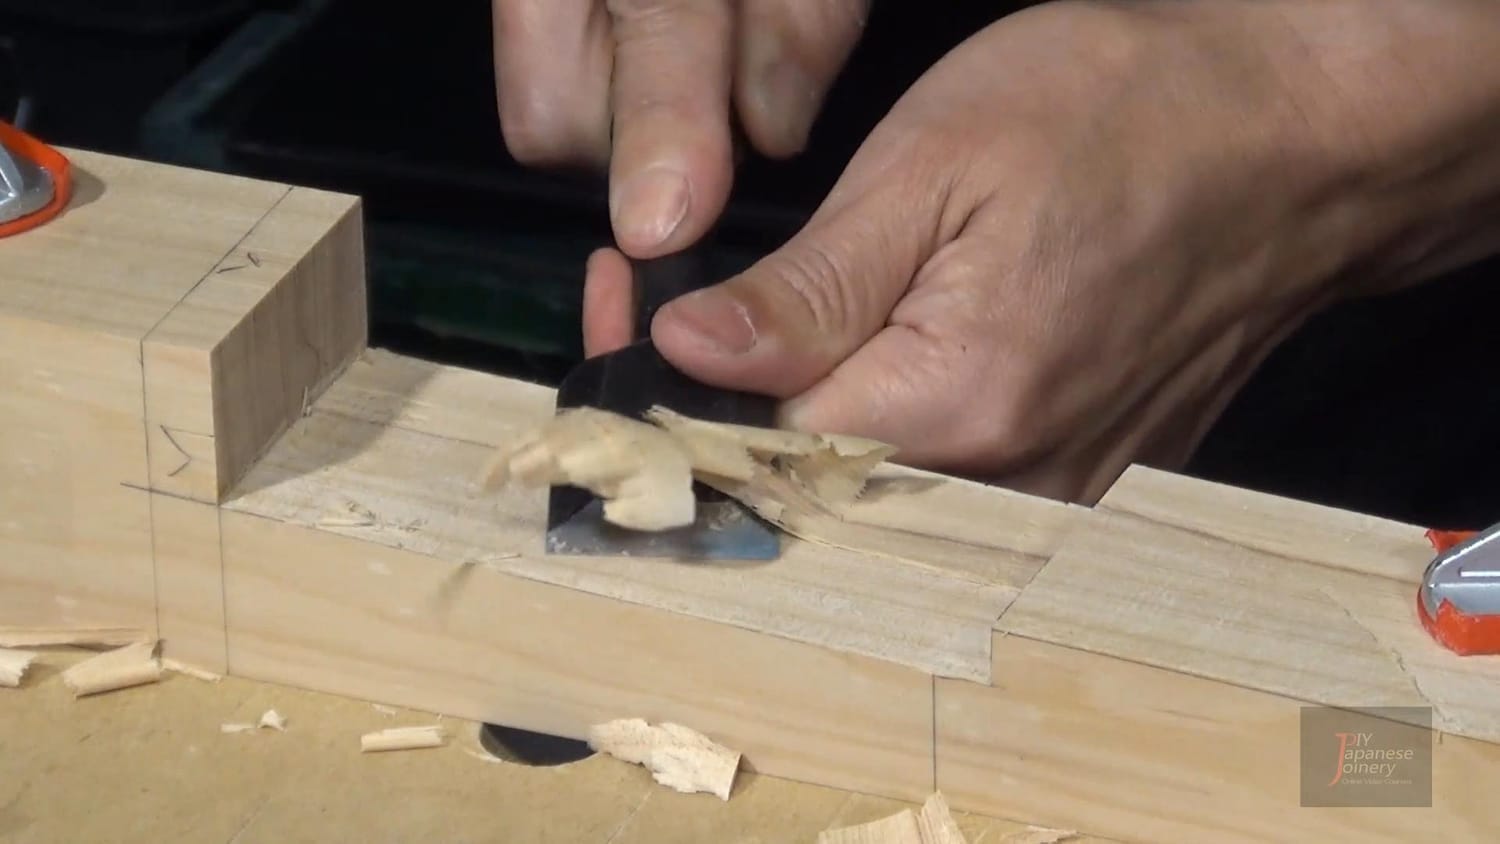
The first time you experience a nomi cutting perfectly, it will stay with you. I remember the first time my master handed me a freshly sharpened chisel. The blade slipped into the wood as if the fibres were parting to let it pass. There was no tearing, no resistance – just a clean, whisper-thin shaving curling away from the edge.
Working with a chisel in that condition changes your approach. You begin to trust the tool, to let it do the work, and your cuts become more deliberate and accurate.
The Fundamentals Before You Begin
Before we get into the step-by-step process in later articles, here are the principles that will guide everything:
1. Flatness matters everywhere – The stone, the back of the blade, and your strokes must all stay flat and consistent.
2. Pressure is as important as angle – Too much pressure and you gouge; too little and you waste time.
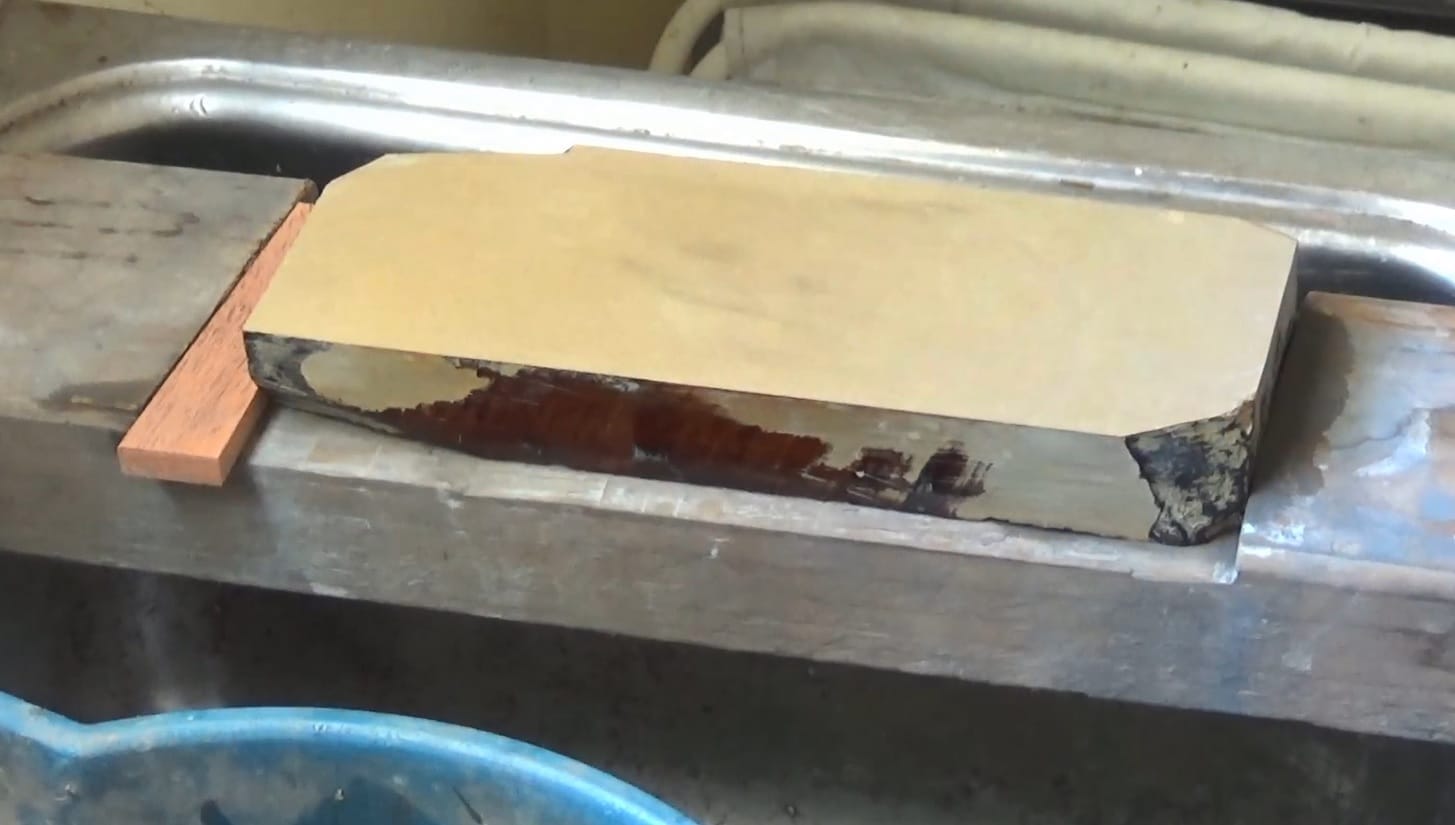
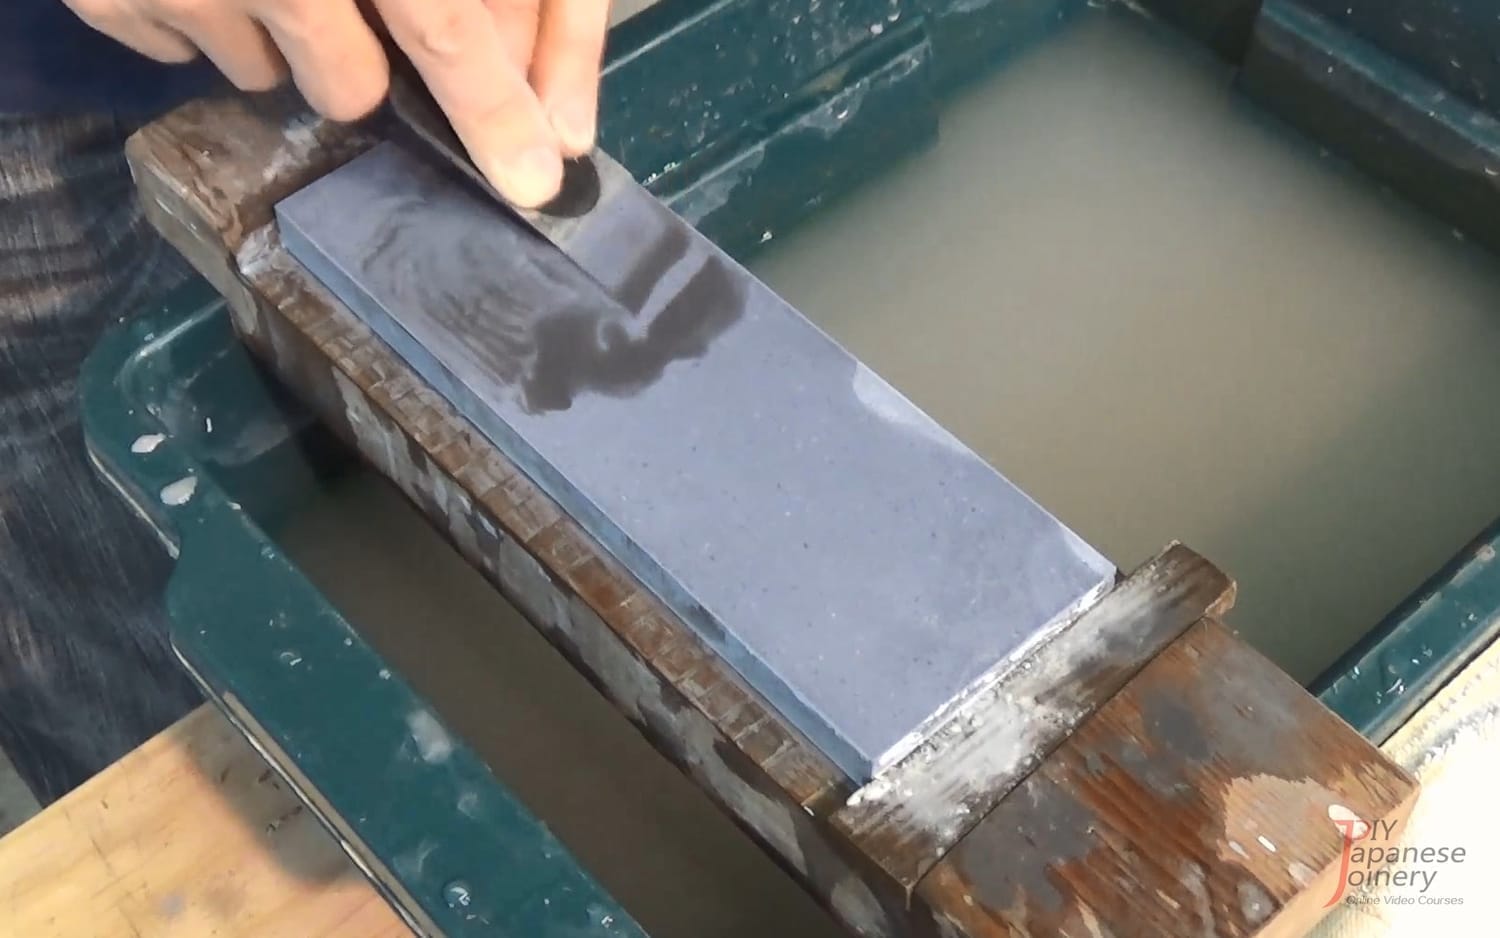
3. Stone preparation is part of sharpening – A dull or uneven stone will never produce a sharp blade.
4. Don’t rush – Precision comes from patience. Speed will follow with practice.
Remember, the goal is not just to make the chisel sharp “enough.” The goal is to make it right.
What This Series Will Cover
This guide will walk you through the sharpening process in detail, breaking it into clear, manageable stages:
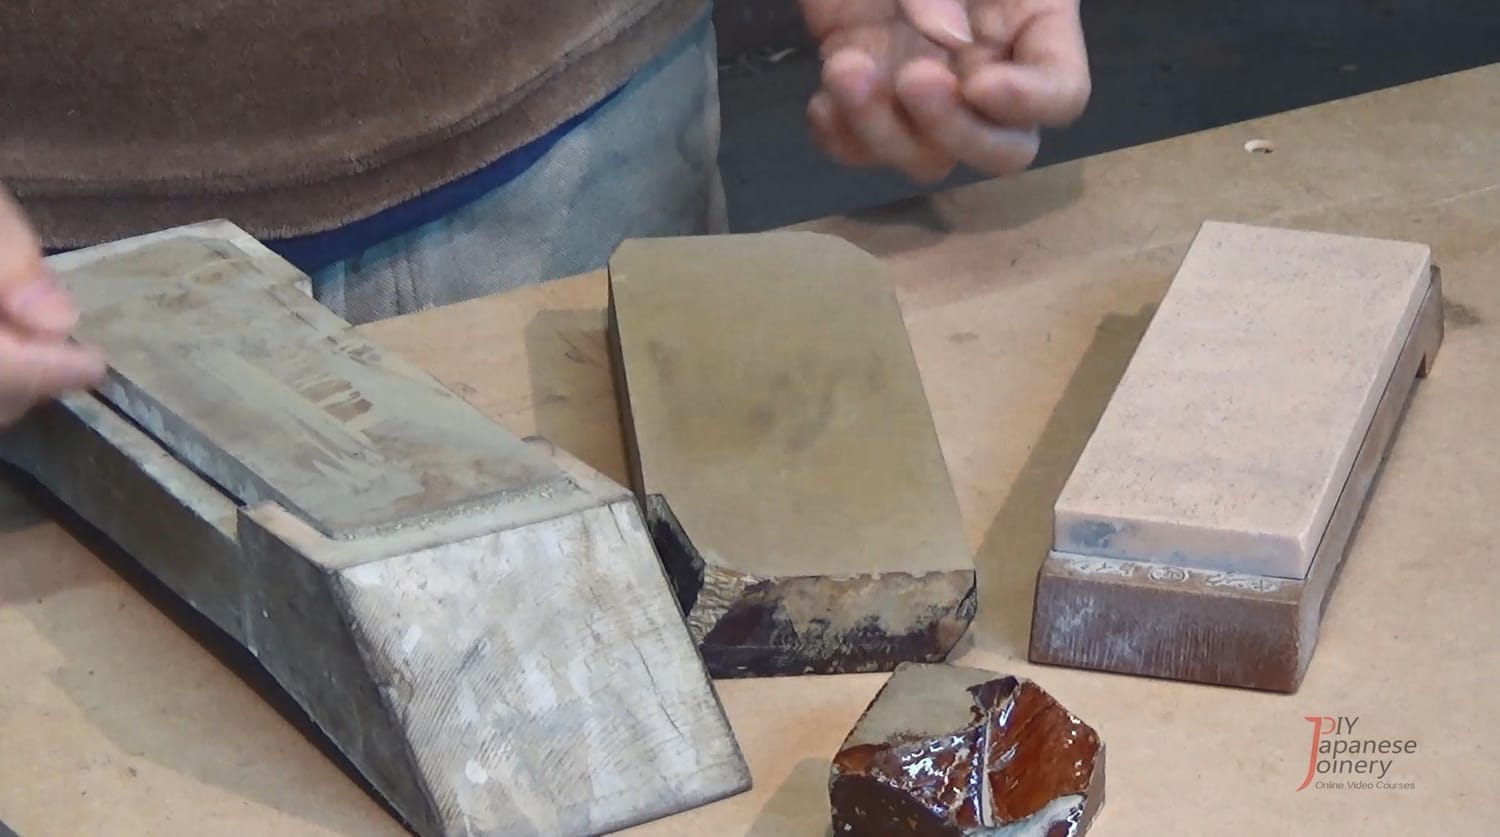
Choosing the right sharpening stones – Understanding grit, composition, and purpose.
Setting up your sharpening station – At home and on-site.
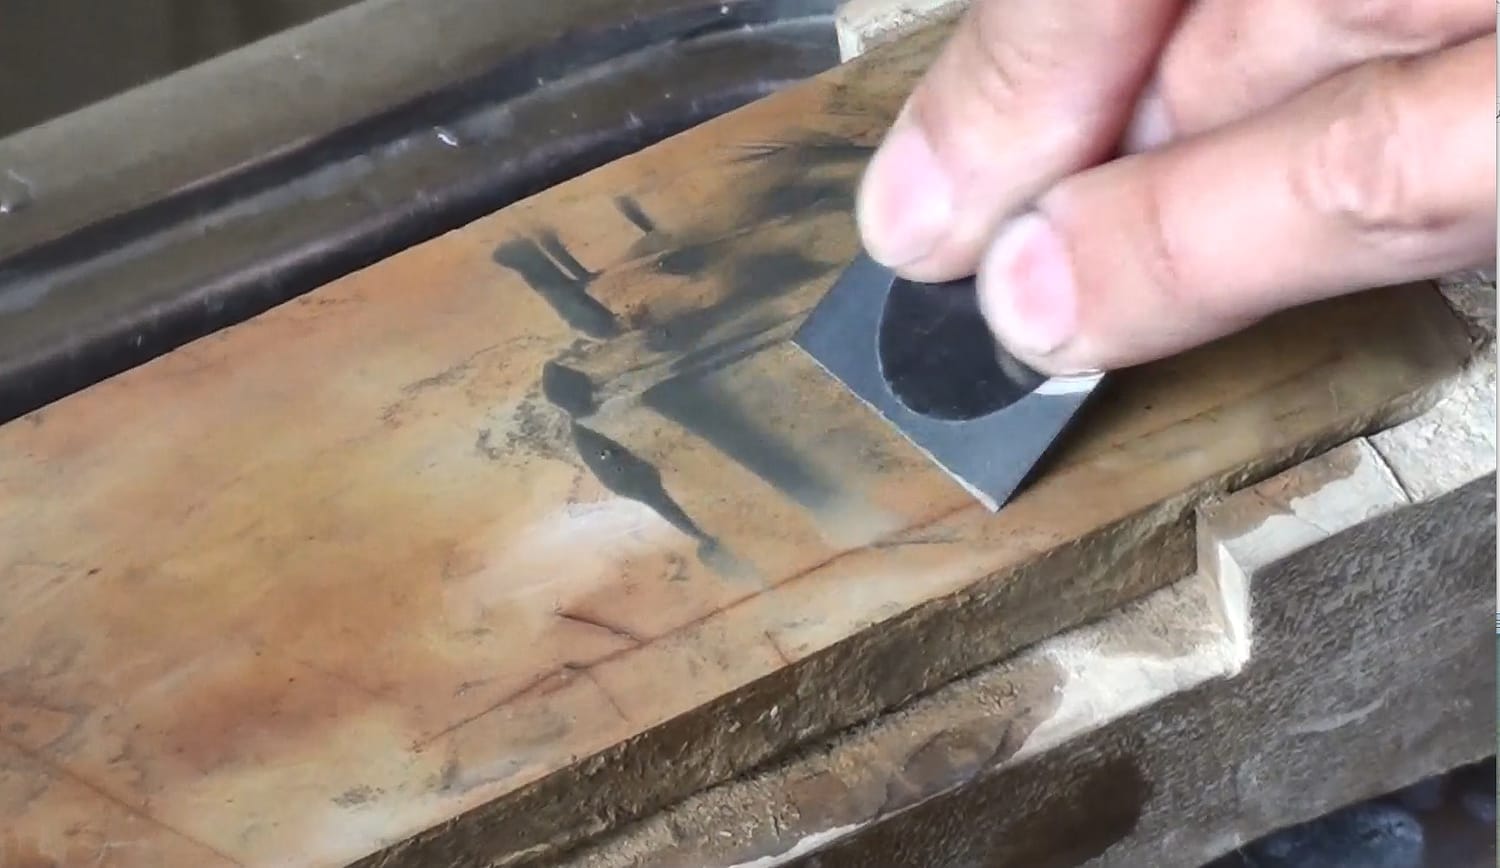
Flattening the back (uraoshi) – The key to precision and longevity.
Polishing the back to a mirror finish – Why it matters for cutting performance.
Sharpening the bevel – Technique, angle control, and common mistakes.
Removing burrs effectively – The difference between “sharp” and “razor sharp.”
Testing sharpness – Practical ways to confirm your edge is ready.
By the end of this series, you will have a repeatable method for sharpening your chisels to professional standards.
Next in the Series
In Part 2, How to Sharpen Japanese Chisels (Nomi) – Choosing the Right Sharpening Stones, we’ll focus entirely on sharpening stones – the heart of the process. You’ll learn how to choose between coarse, medium, and fine stones, how to prepare them for use, and how to match them to the job at hand. If sharpening is the soul of the craft, the stone is the foundation.
Ready for structured, in-depth training?
Latest Posts
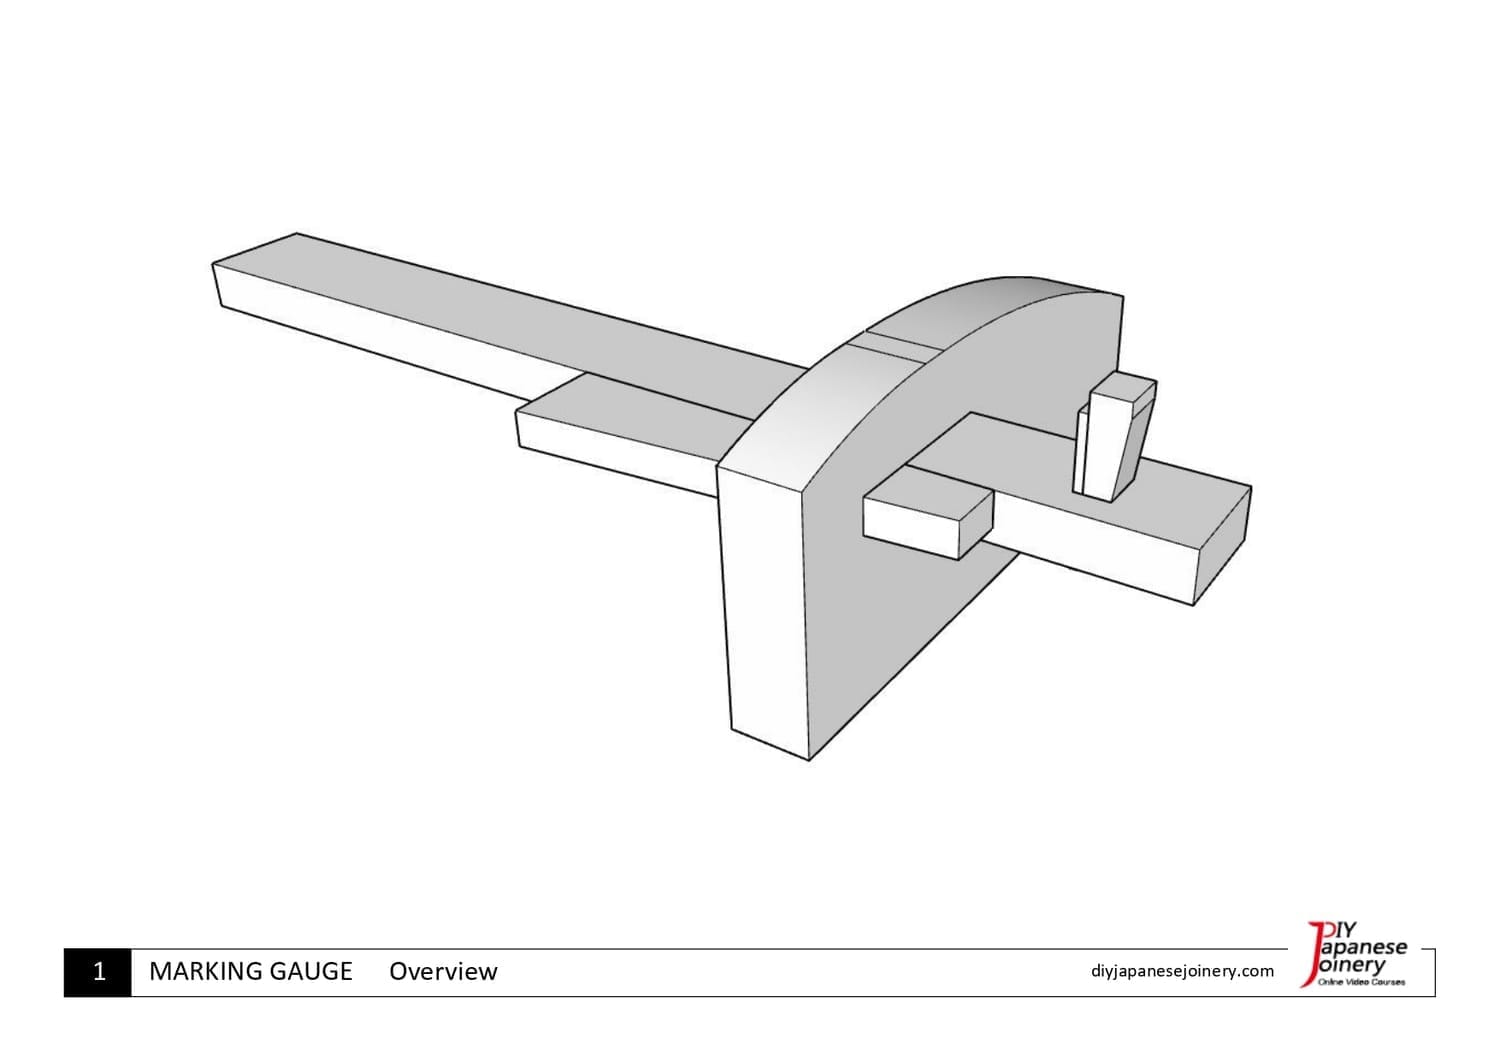
Precision Starts with a Single Line.
Get the detailed diagrams to craft your own Japanese marking gauge (Kehiki). Start your journey with the foundational tool of Japanese joinery.
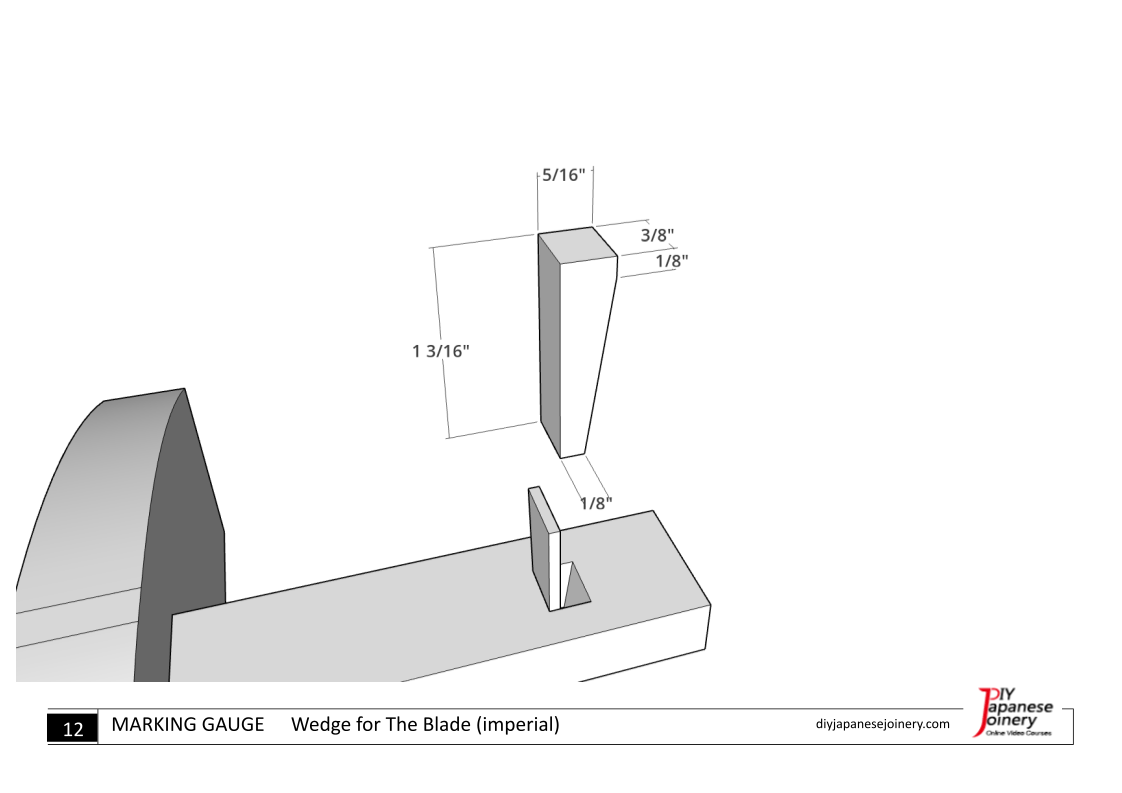
Precision Starts with a Single Line.
Get the detailed diagrams to craft your own Japanese marking gauge (Kehiki). Start your journey with the foundational tool of Japanese joinery.
About me

Hi there, I’m Hisao Zen, a Japanese woodworking artisan with 25+ years’ experience. I share the techniques and traditions of joinery through online courses, guiding beginners step by step while inspiring them to carry this timeless craft into the future.
Latest Posts


©2017–2026 DIY Japanese Joinery
All pricing is in U.S. dollars.
Some images by Freepik